Pain de campagne
Just for fun, I tried out a recipe for a low-effort bread with lots of flavor. There is almost no kneading involved and no getting your hands dirty. By the way, the illustration here is from my first try of this recipe. This has become my definitve bread recipe!
So, how does this bread stack up against my premium, artisan loaf?
My first impression wss that I had never tasted a loaf with better crust or better flavor. My usual crumb was pretty much equal to this one, but the flavor of this loaf is beyond belief. It isn’t the real sour of San Francisco sourdough (which I’ve NEVER tasted in France, either), but it does have the substance of a country loaf from French bakeries. I bought another Dutch oven so I can make two at a time in the same oven.
This bread contains only flour, salt, (a little yeast) and water—and maybe 10 minutes worth of hands-on attention.
Yield
A single 1-lb loaf.
Ingredients
| 16 oz | all-purpose, unbleached flour |
| ½ tsp | instant yeast |
| 2 tsp | Kosher salt |
| 1½ cups | filtered water |
The PreparationNote that I'm over-writing this. When I make my bread, I spend about 5 minutes the night before, 5 minutes kneading the day of, 2 minutes flouring and slashing. That plus waiting for it to bake is the whole thing. The detail I'm giving here is only for those who really worry about how hard and mysterious it is. It replaces coming over to watch me do it. However, it's really easy: don't sweat it! 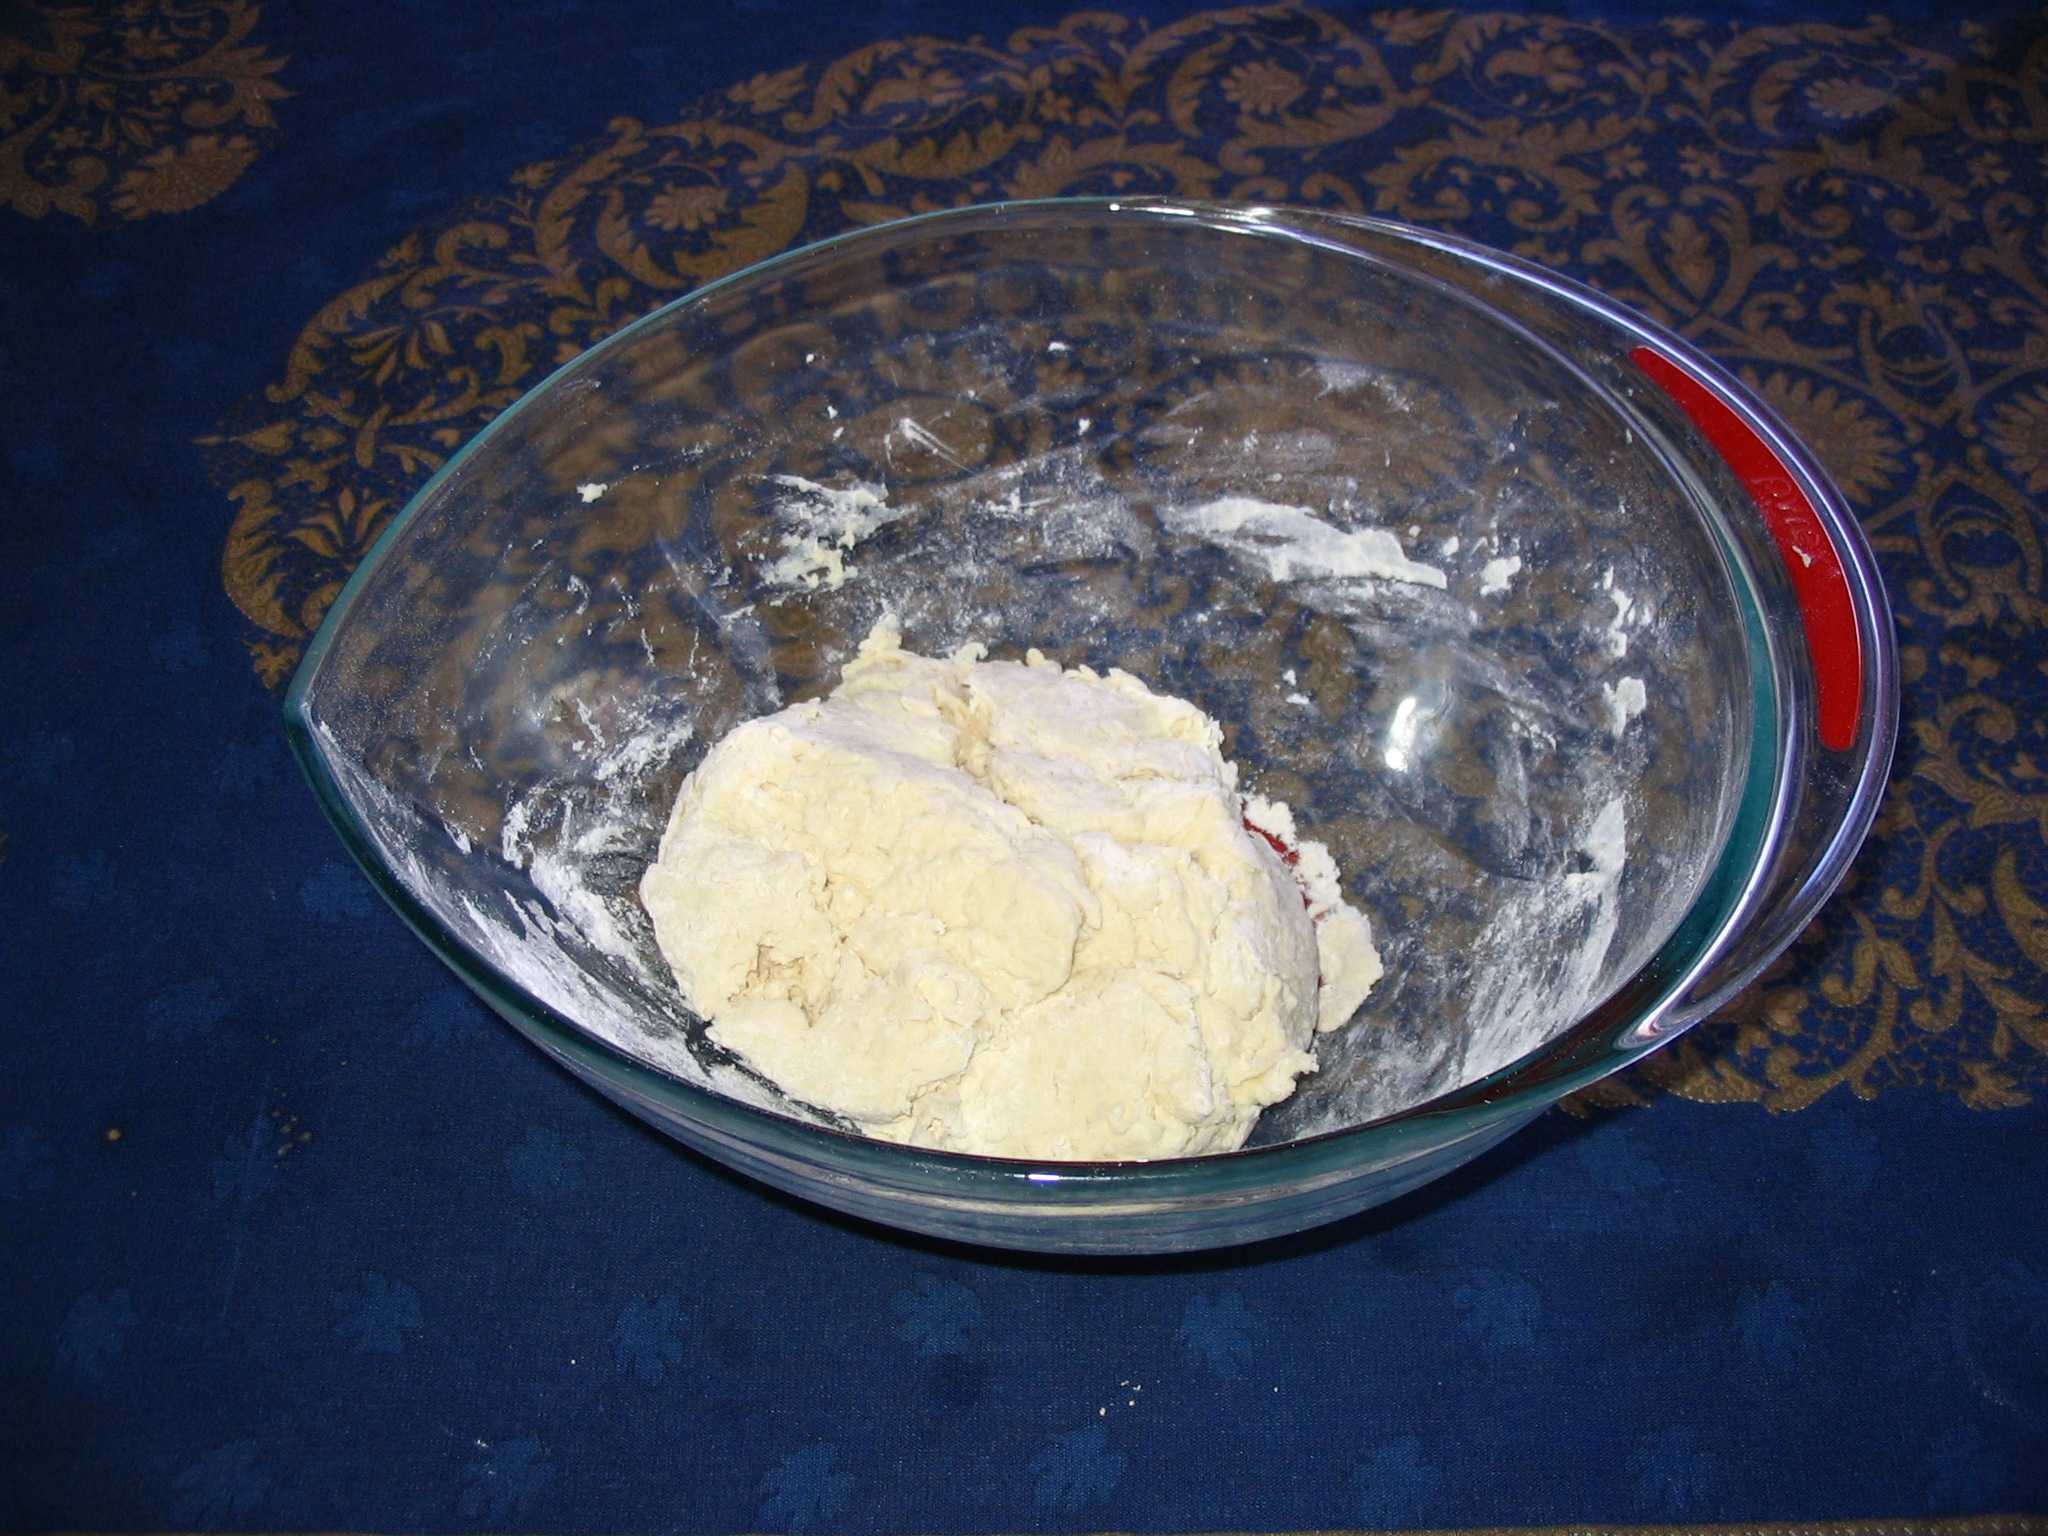
1. Mix dry ingredients together with a heavy wooden spoon or scraper, then add wet and make a (ragged) ball of dough. Gather dough together, scraping sides of bowl well and cover. Leave for 8-18 hours at room temperature to autolyse and ferment. Sometimes, if it looks very dry as it does here, I will sprinkle another tablespoon or two of water over the dough. There are seasonal differences that greatly affect bread baking. I took this picture in January when our forced-air furnace raises the temperature of the dry, Utah winter air drastically reducing the relative humidity. Thus, I compensate. | |
Revisiting this bread...After making this recipe for 6 months, I began experimenting. I know from my King Arthur experience that you want more rather than less moisture in bread to get the mouse-holing which is a sign of a good crumb. This recipe as is doesn’t put enough moisture in. I increase the water over the recipe here by adding just a tablespoon or two more. Increasing the yeast slightly (to no more than ½ tsp) makes a little lighter bread, but this also depends upon the climate, yeast viability and amount of time to ferment. Finally, I have already reduced the covered baking time (see The Bake here. All these changes have been reflected in the current recipe. I've been making it now for many years. The mouseholing of this bread isn’t as good as that of my King Arthur experience, but the flavor is better. My thrust now is to bridge the gap by increasing the moisture. However, the difference also has much to do with the numerous kneadings of my old bread. The kneading schedule took so long that I welcomed this new recipe as the old way just gobbled up so much of my day in babysitting (not that much actual work, but too much returning to the bread). |
This takes only a couple of minutes. The Rise2. Prepare a 10" skillet with parchment paper torn or ripped into an 18" diameter circle or a rectangle approximately 12" × 18". Coat the parchment with non-stick cooking spray. Don't sweat these mesurements: I just eyeball and rip the paper. 3. When ready to bake, lightly flour a surface, turn the dough ball out on it, knead about 15 times (fold dough over itself and press down with the heel of your hand, turn ¼ and repeat). Do not tear the surface of the dough, however. Make a stretched ball by gathering dough around, underneath and up into the ball with your fingers until the exposed (top) surface is tight (but not broken) and carefully place on the parchment paper without letting the ball undo itself. Let raise about 2 hours or until a finger-poke leaves an impression. As I use a skillet as my banneton, I know when it's ready by how much the pâton has risen and fills it. 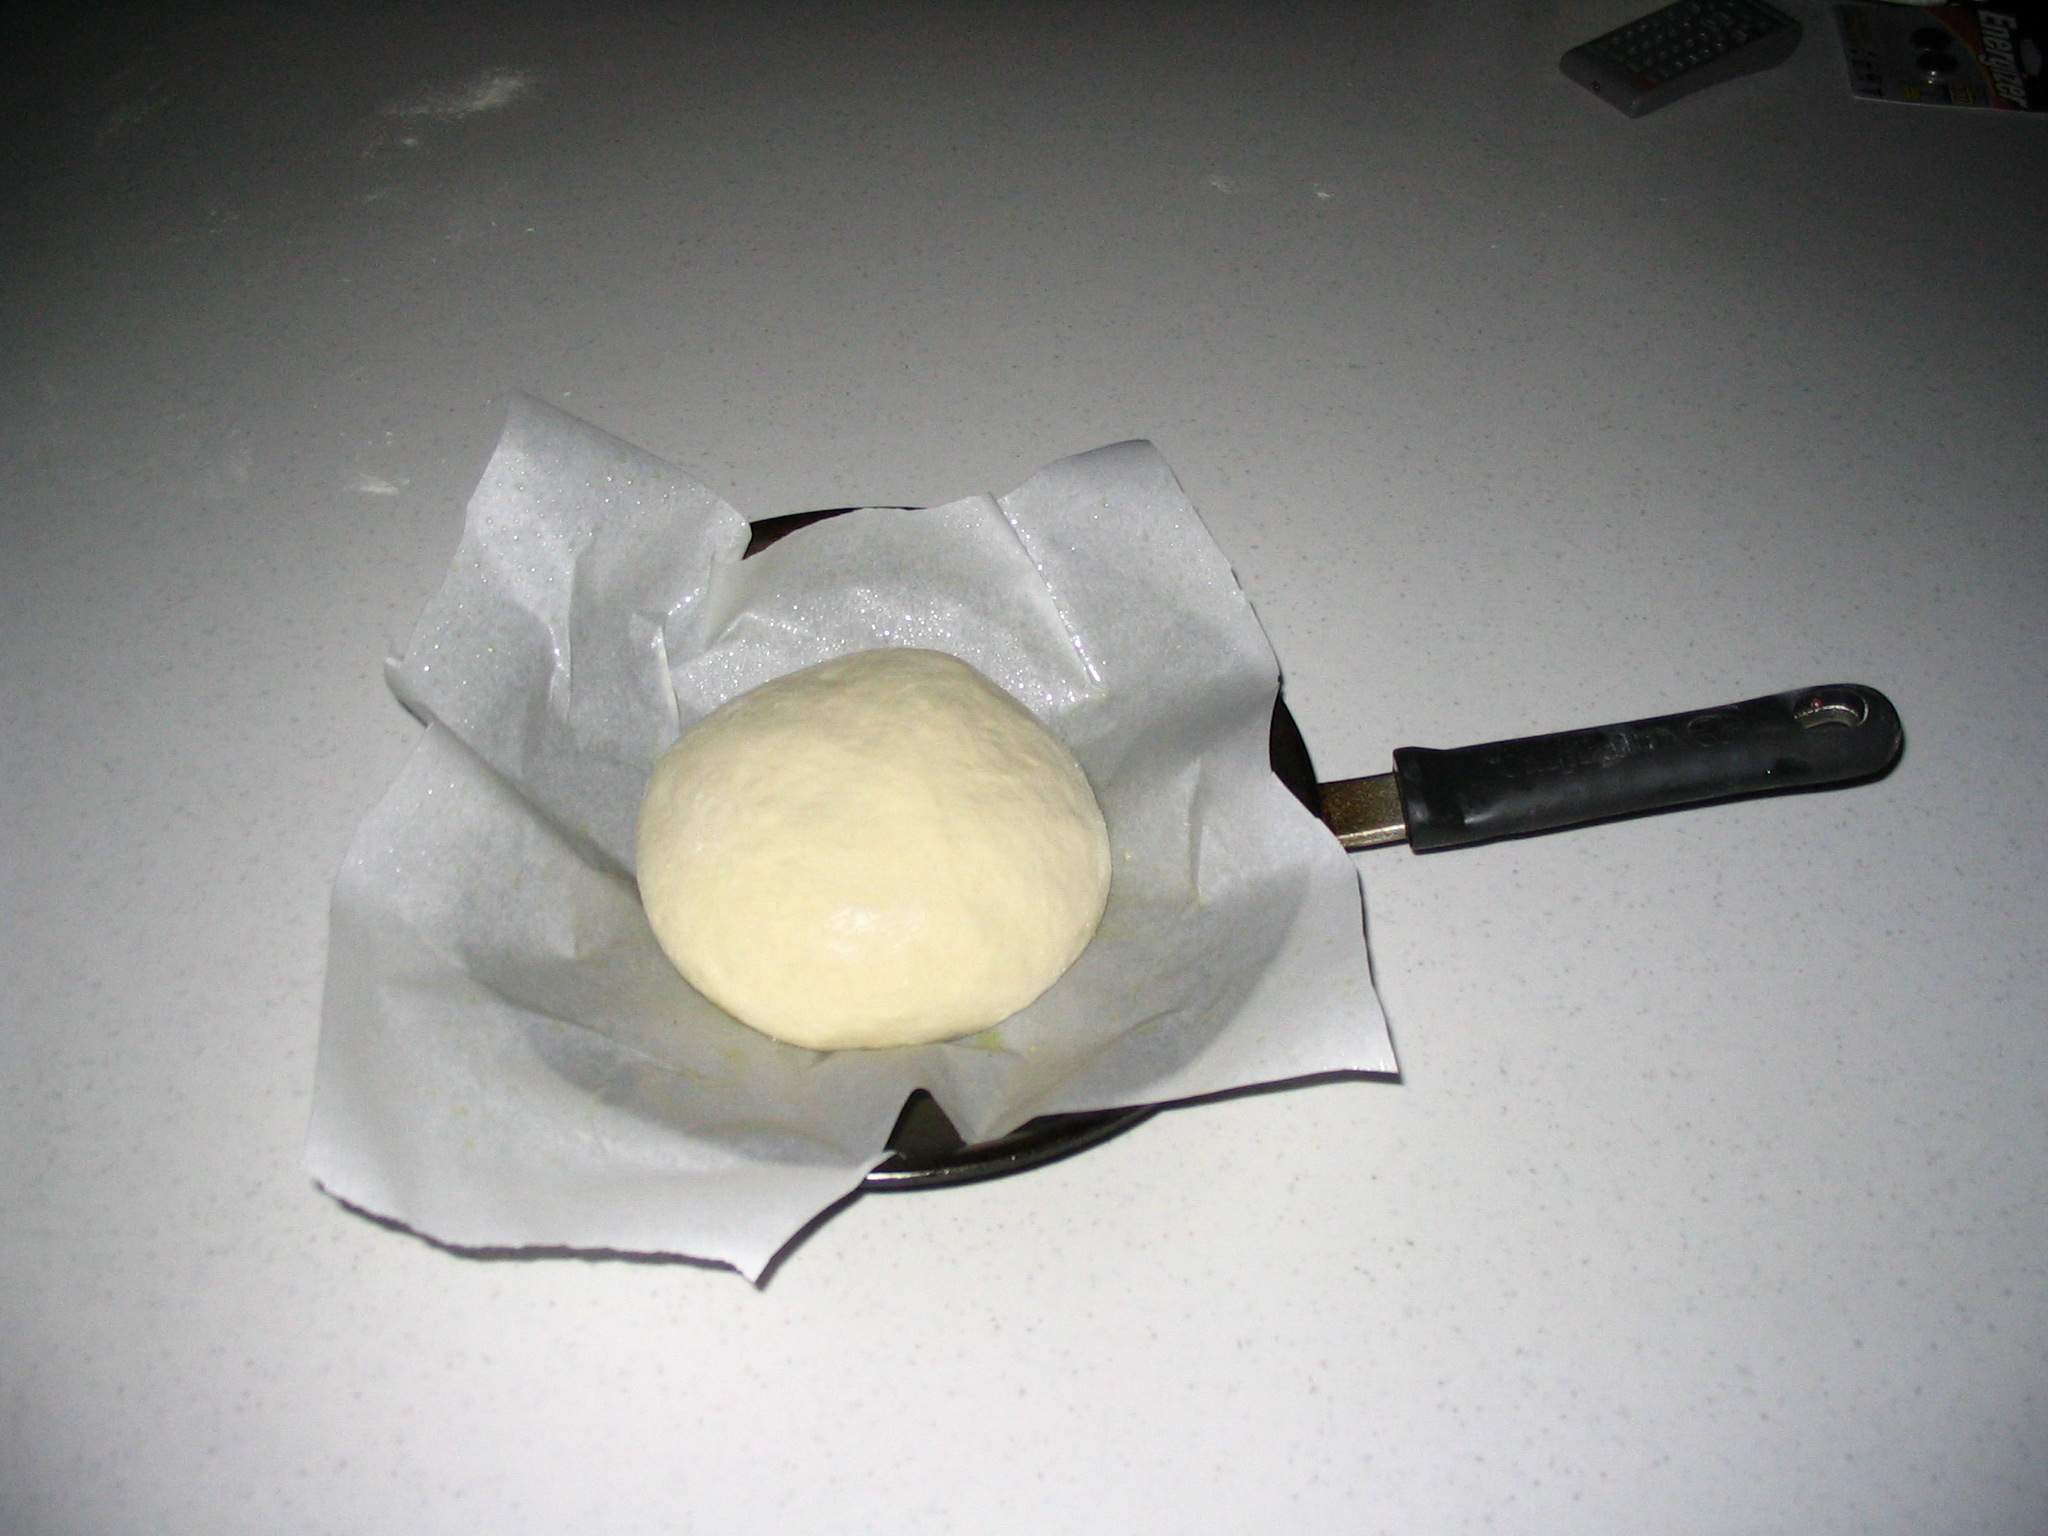
In winter time, I fire up one of my ovens to 135°—the lowest it will go. When at temperature, I turn it off, put my temperature probe into it and the skillets with dough to rise. I leave the door open as long as the temperature is over the low 90° range (typically, it will start out in the high-90° range). The optimal temperature for bread yeasts is 85° and I don’t want to dry out the dough either. This eliminates the problem of air currents too which aren’t helpful and make rises less predictable. 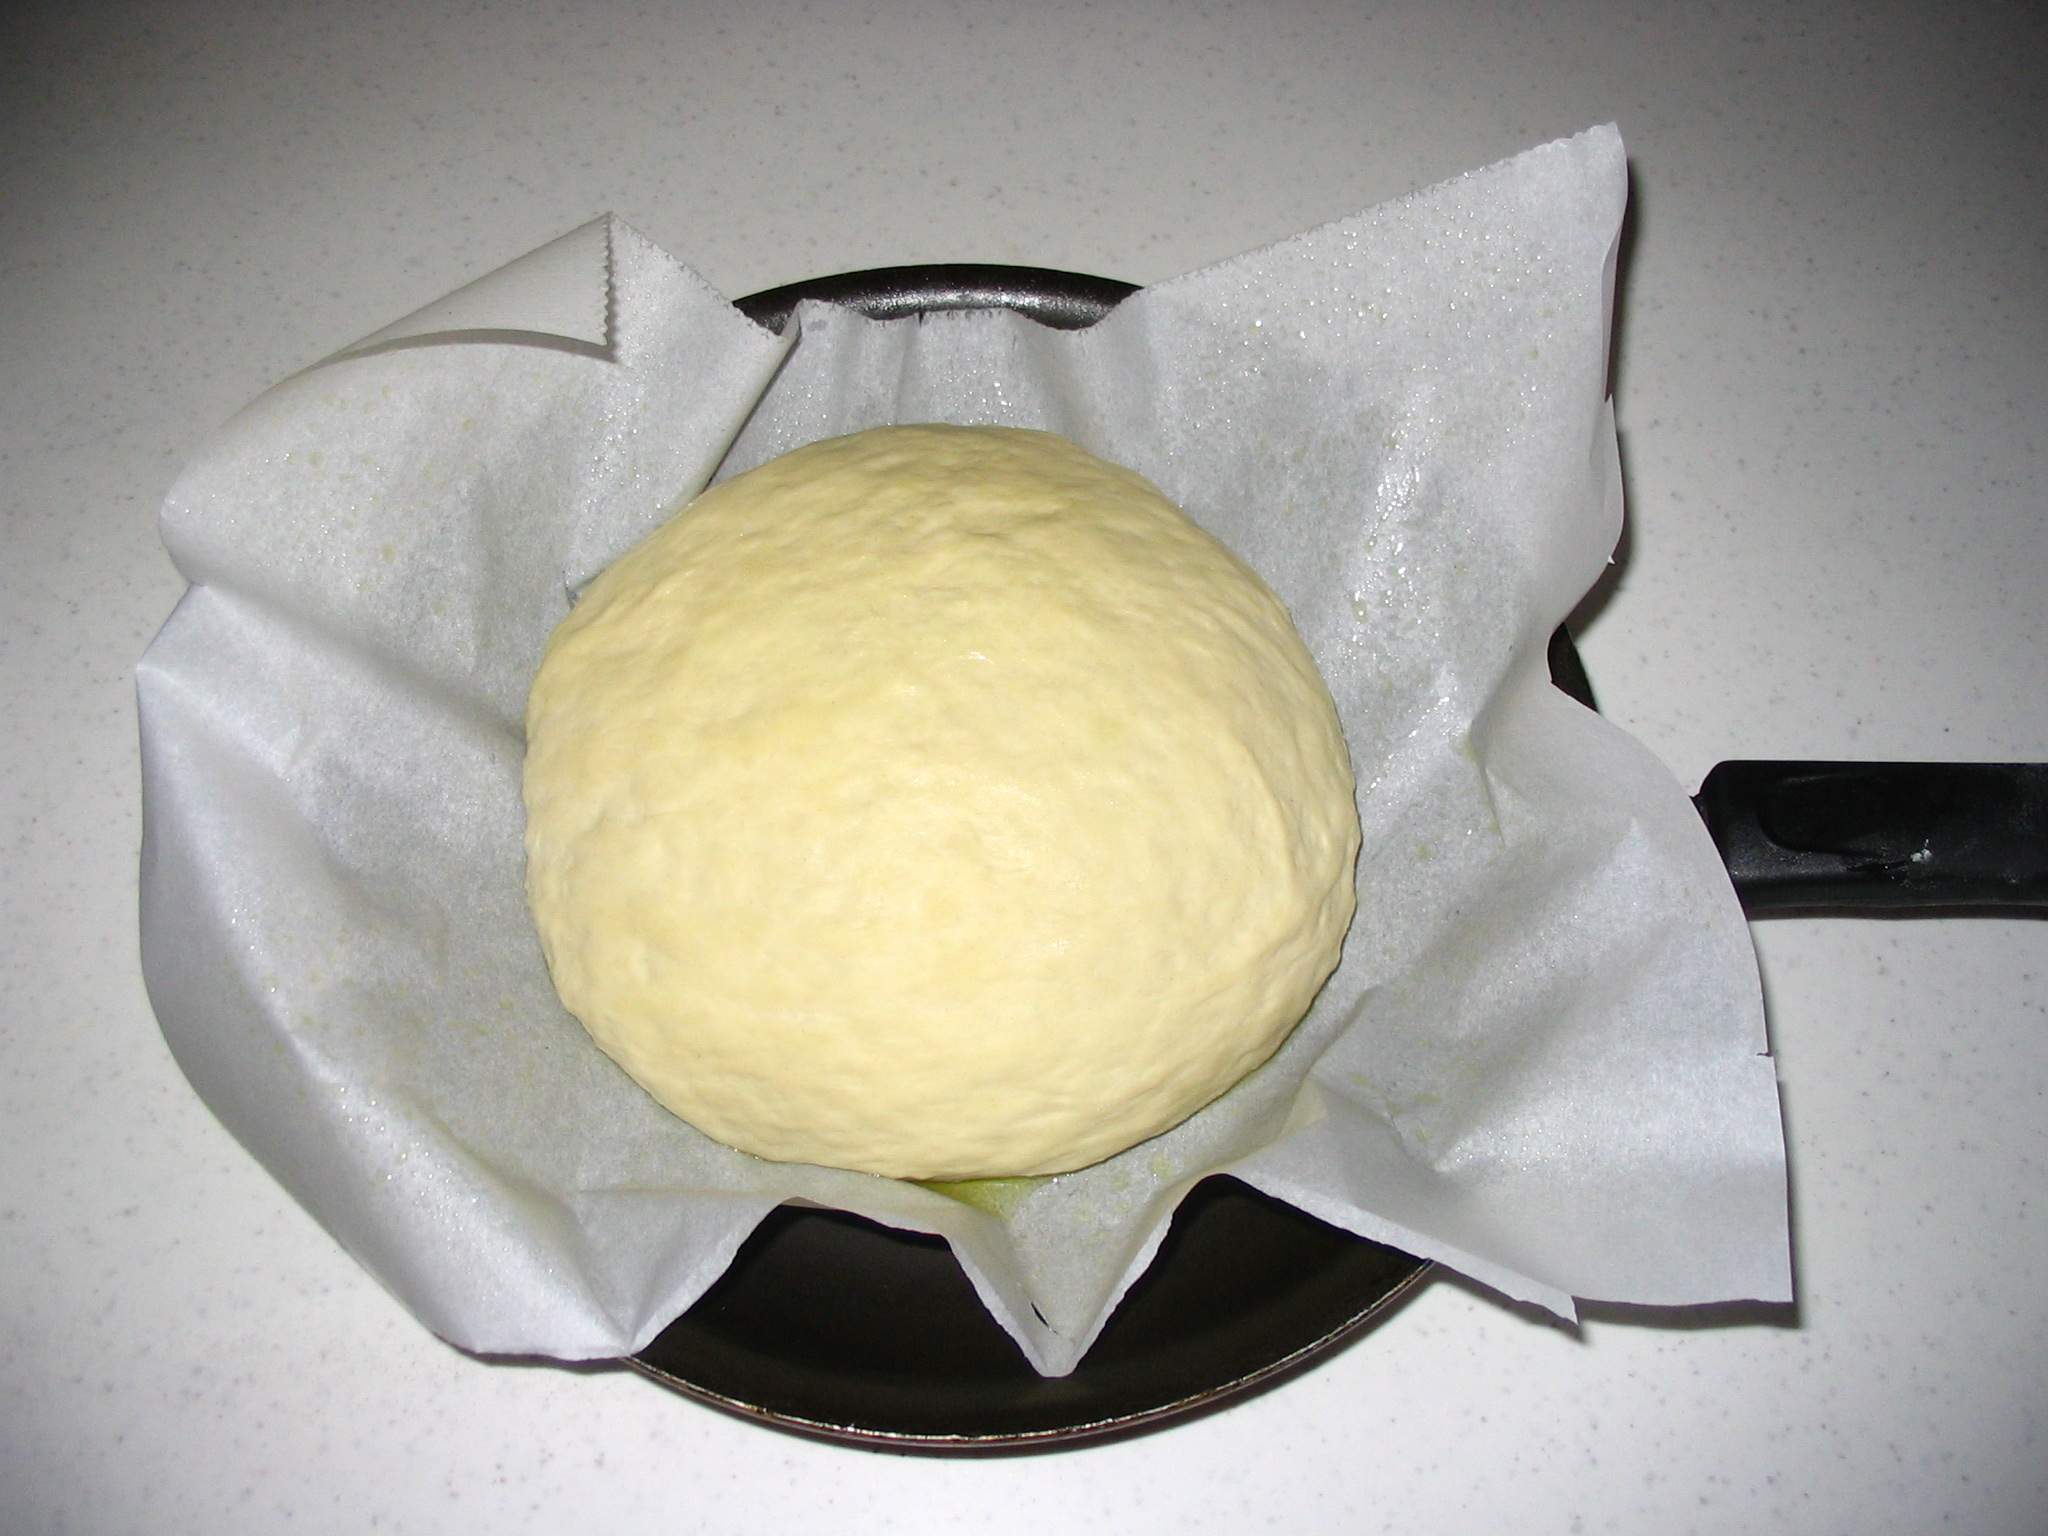
This takes only about 5 minutes (less if you have the parchment ready) of direct, hands-on work plus a couple of hours of waiting. The time to rise isn’t supercritical, but you don’t want the yeast to have reached its peak and fall nor do you want to bake before the dough has risen well. The small amount of kneading (this recipe originally came to Cook’s Illustrated as a strictly no-knead recipe) will help align the gluten chains for a better, more uniform rise with resulting lighter texture in the crumb. |
The Bake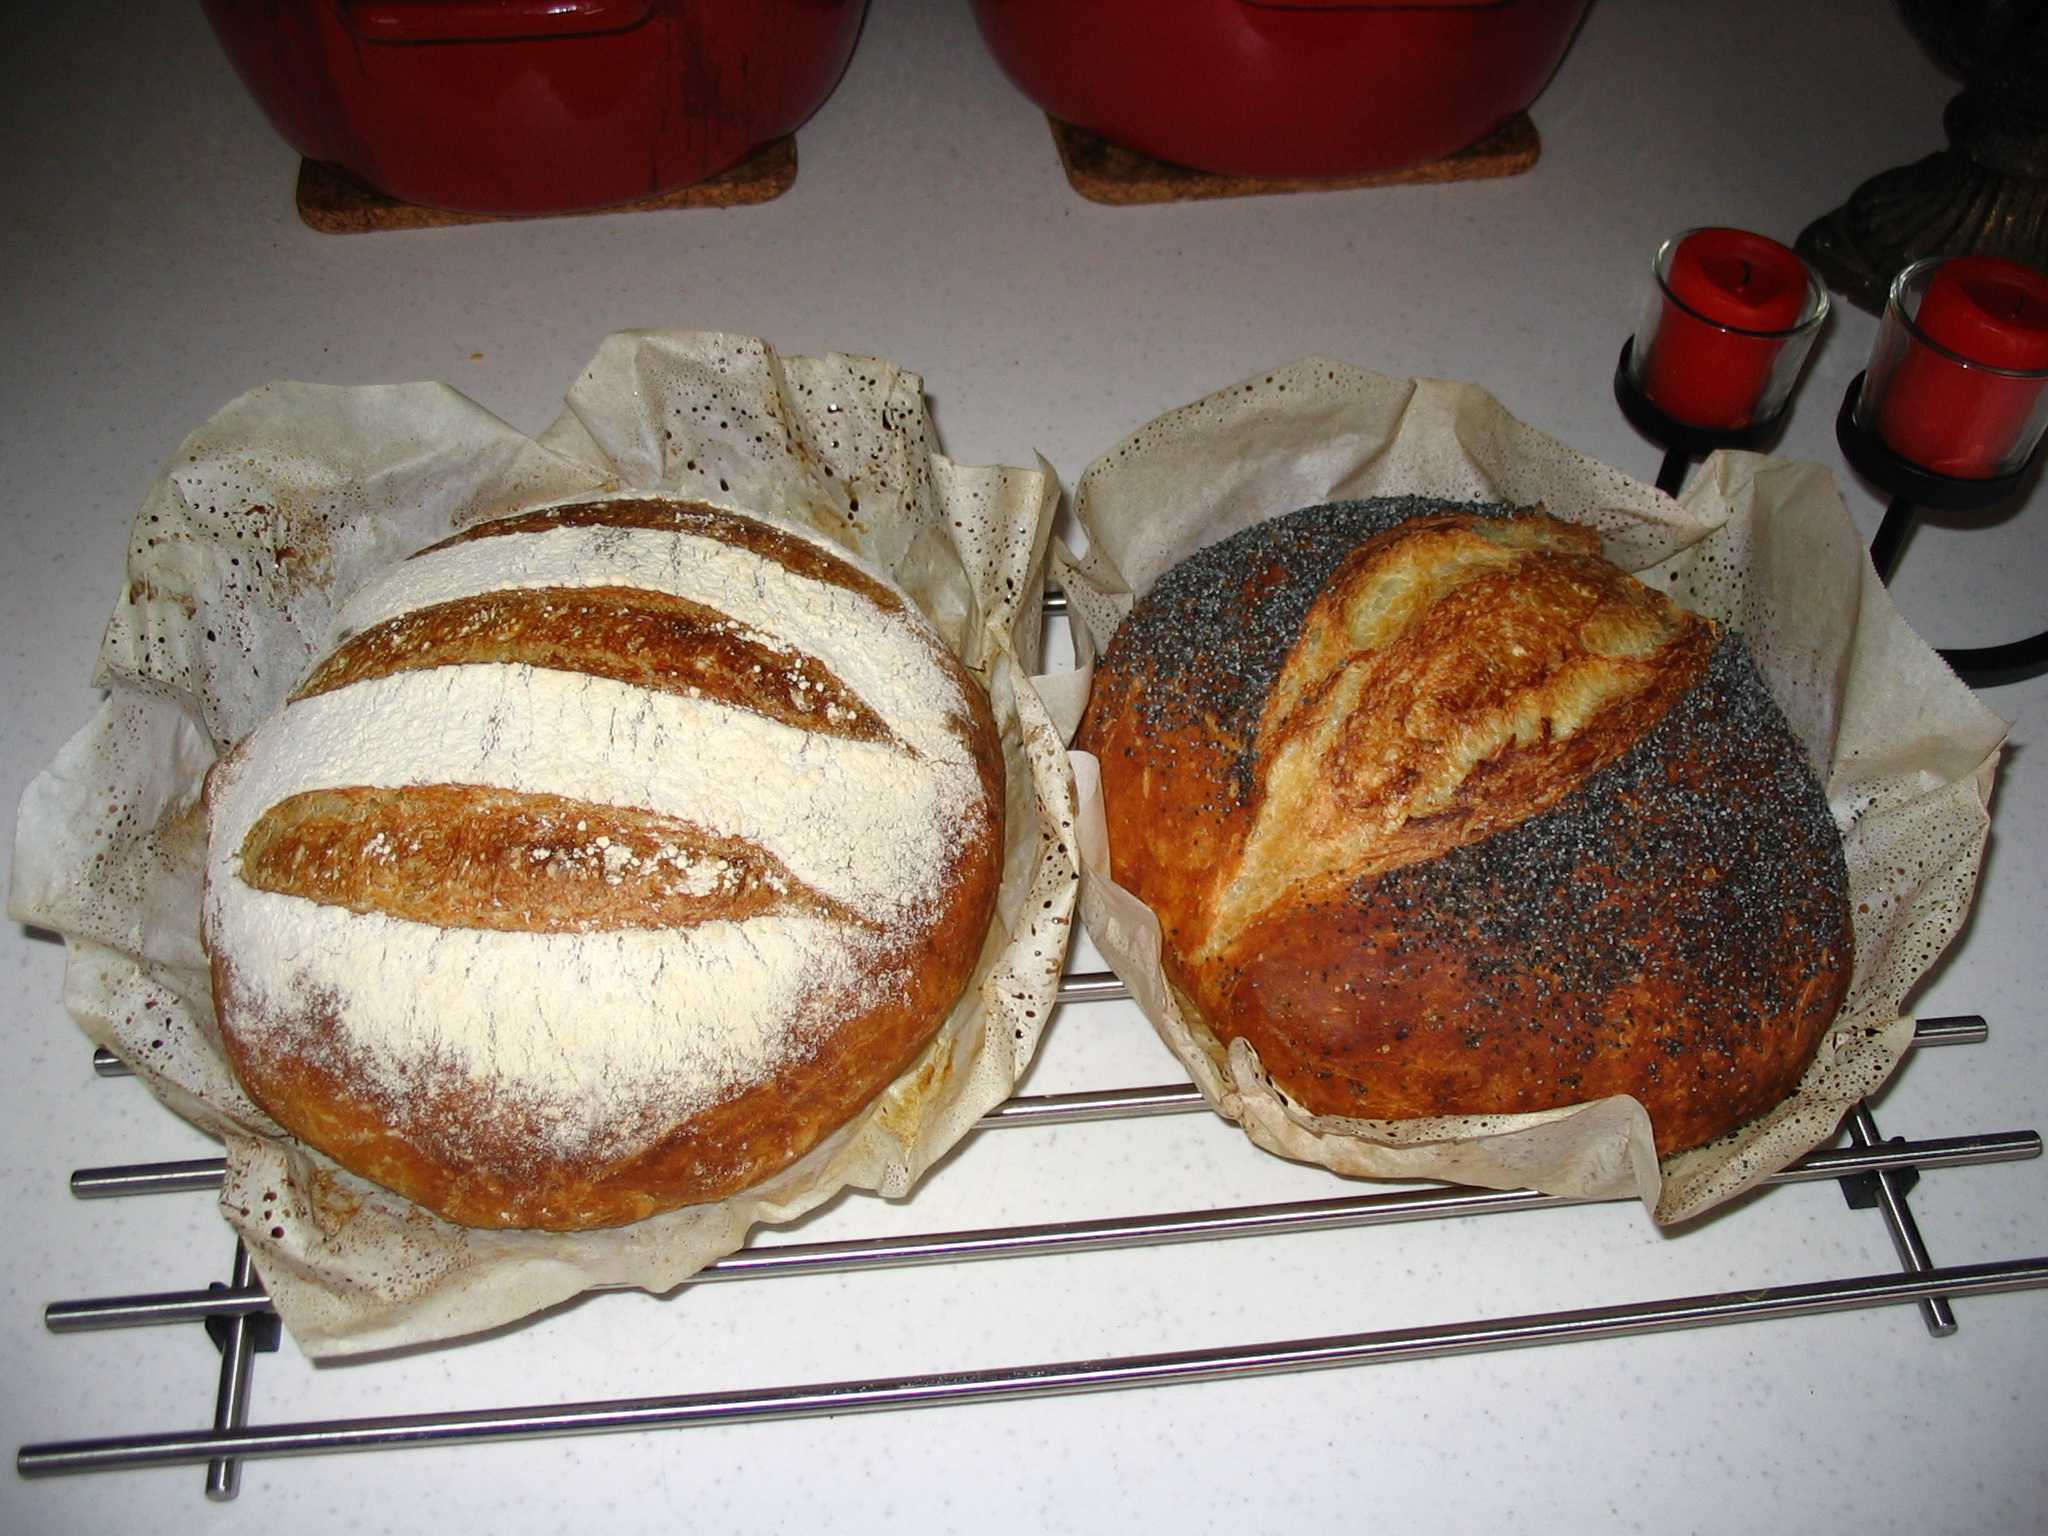
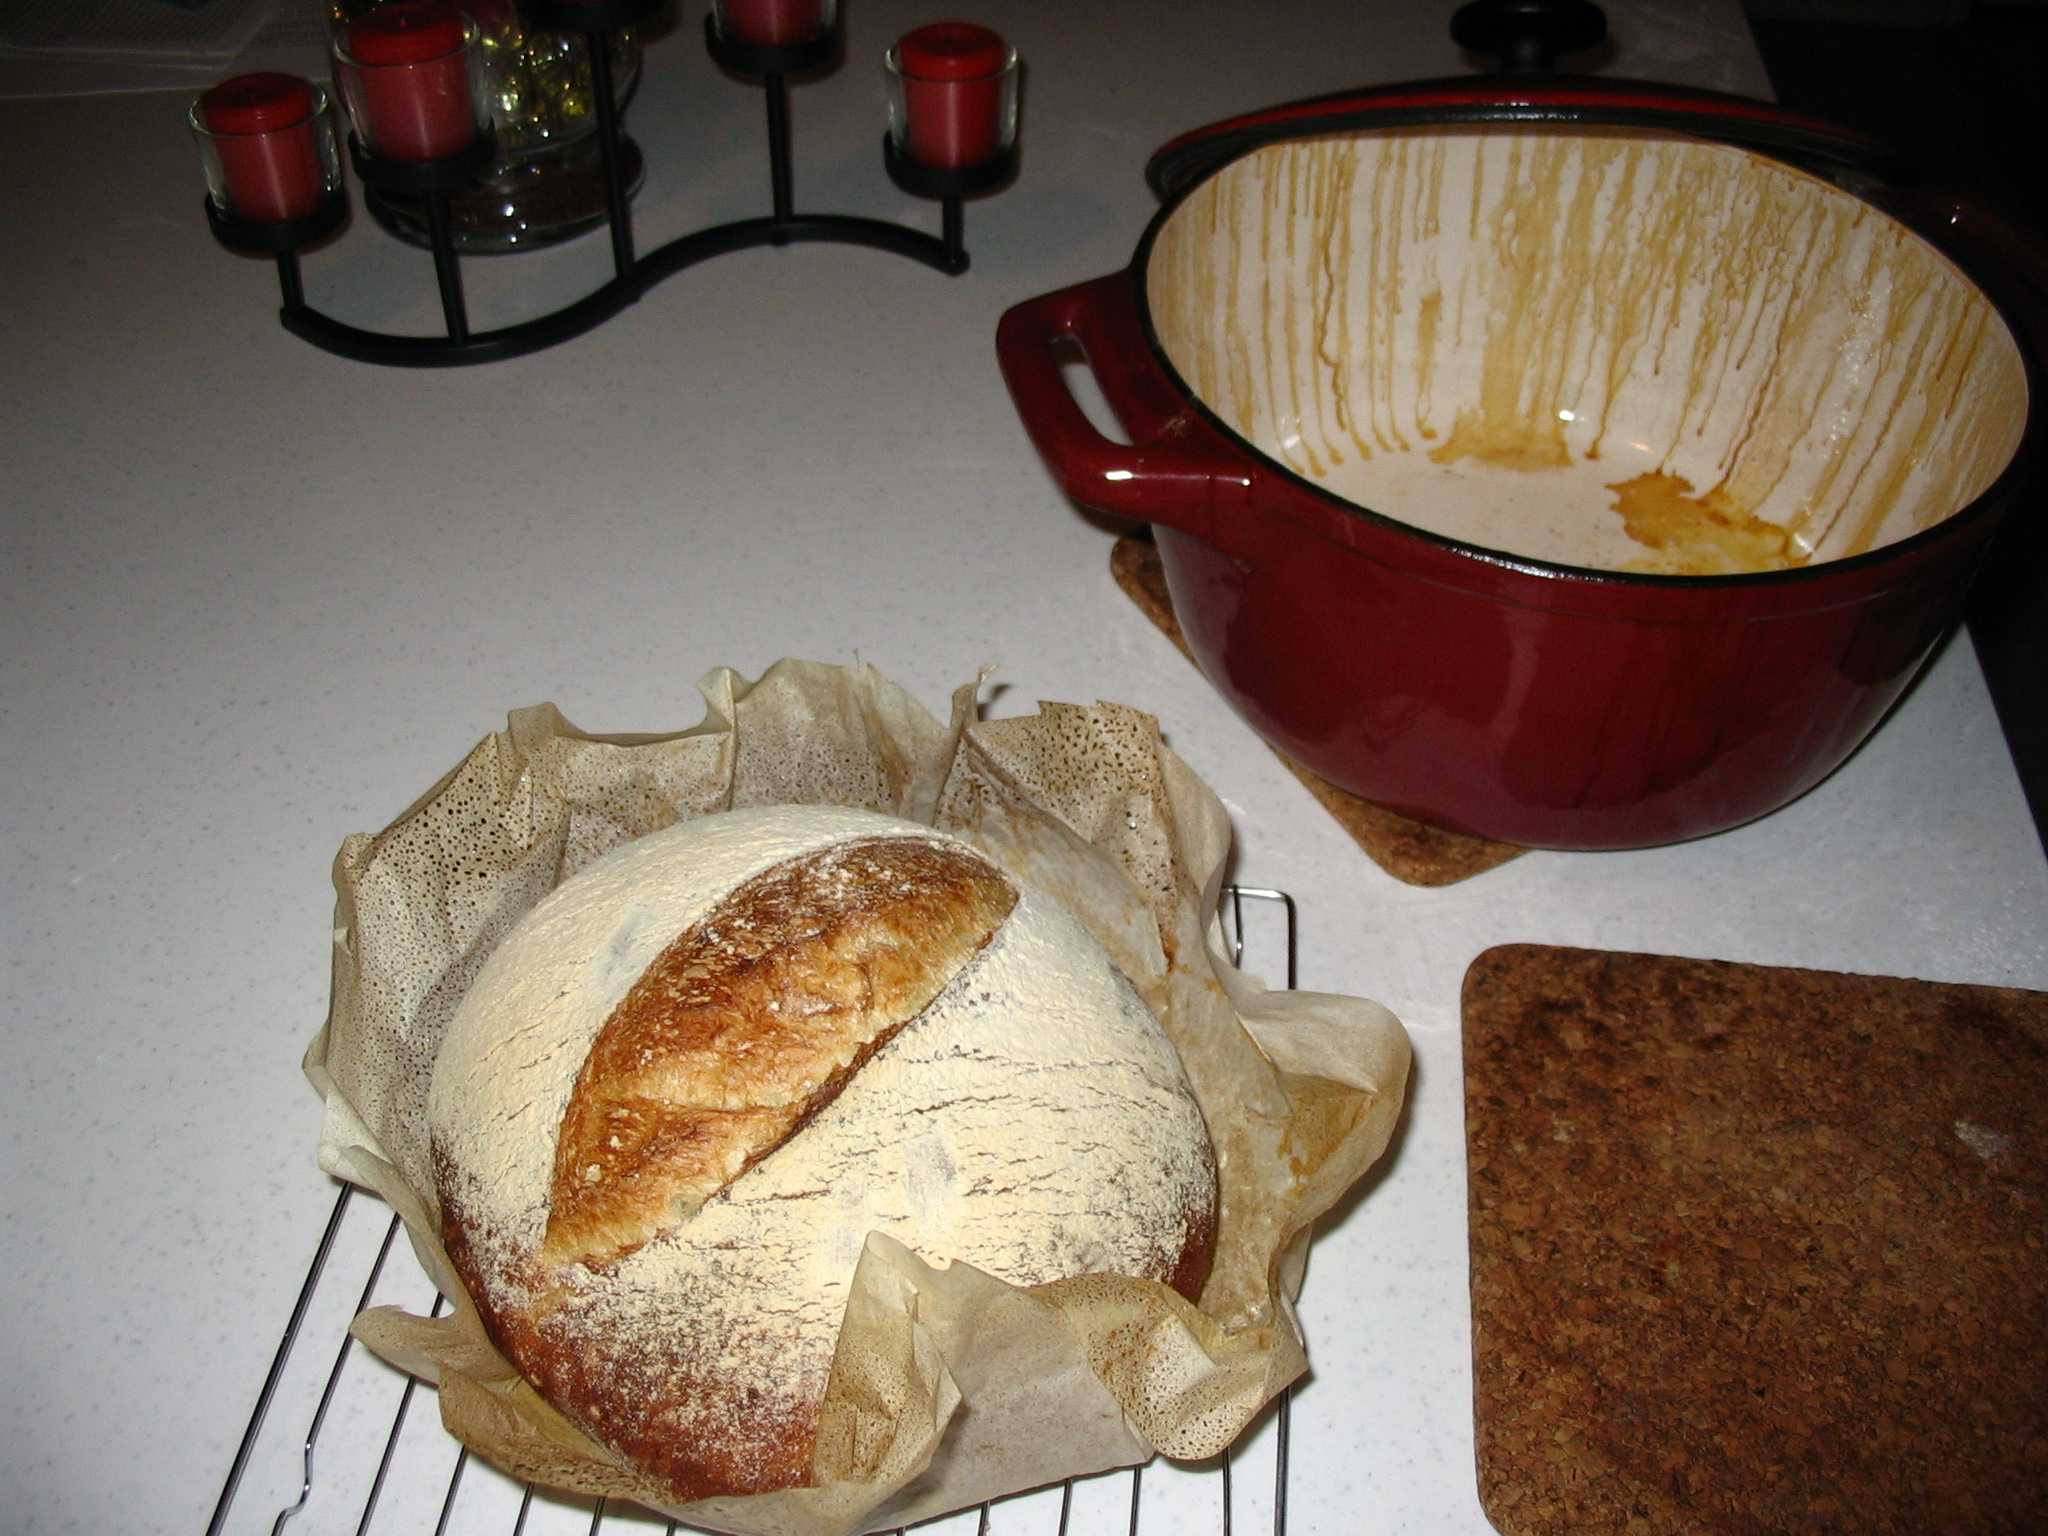
4. About ½ hour prior to finishing the rise (if ambient temperature is in the high 60° and the yeast is good, figure maybe 2 hours to double the dough), preheat the oven to 430° with your Dutch oven inside. 5. When both the oven is hot and the dough raised, dust the top surface of the dough with flour. Remove the Dutch oven from the oven, remove the lid, carefully lift the dough by the parchment paper out of the skillet and set into the Dutch oven. Slit the top of the dough with a razor blade about ½" deep over most of the top as desired. Replace the lid and put the whole thing into the oven. Bake for 30 minutes covered. Remove the lid and bake for 15 more minutes, or until dark to suit your tastes. The internal temperature should reach about 210°. (These instructions are for higher altitude; at sea level, this will take just a bit longer.) Temperature caveat: at 4700' of altitude, I’ve never gotten my bread center to reach 210° without it also getting pretty dark brown or even black. You decide whether it’s done and then adjust next time. I shoot for 200°, but often do not make it (and I’m one who enjoys darker baked goods). I pulled the bread in the picture above out at 199°. (I’ve only measured the temperature a few times at the beginning of a new recipe. I really just never do it after that.) The Science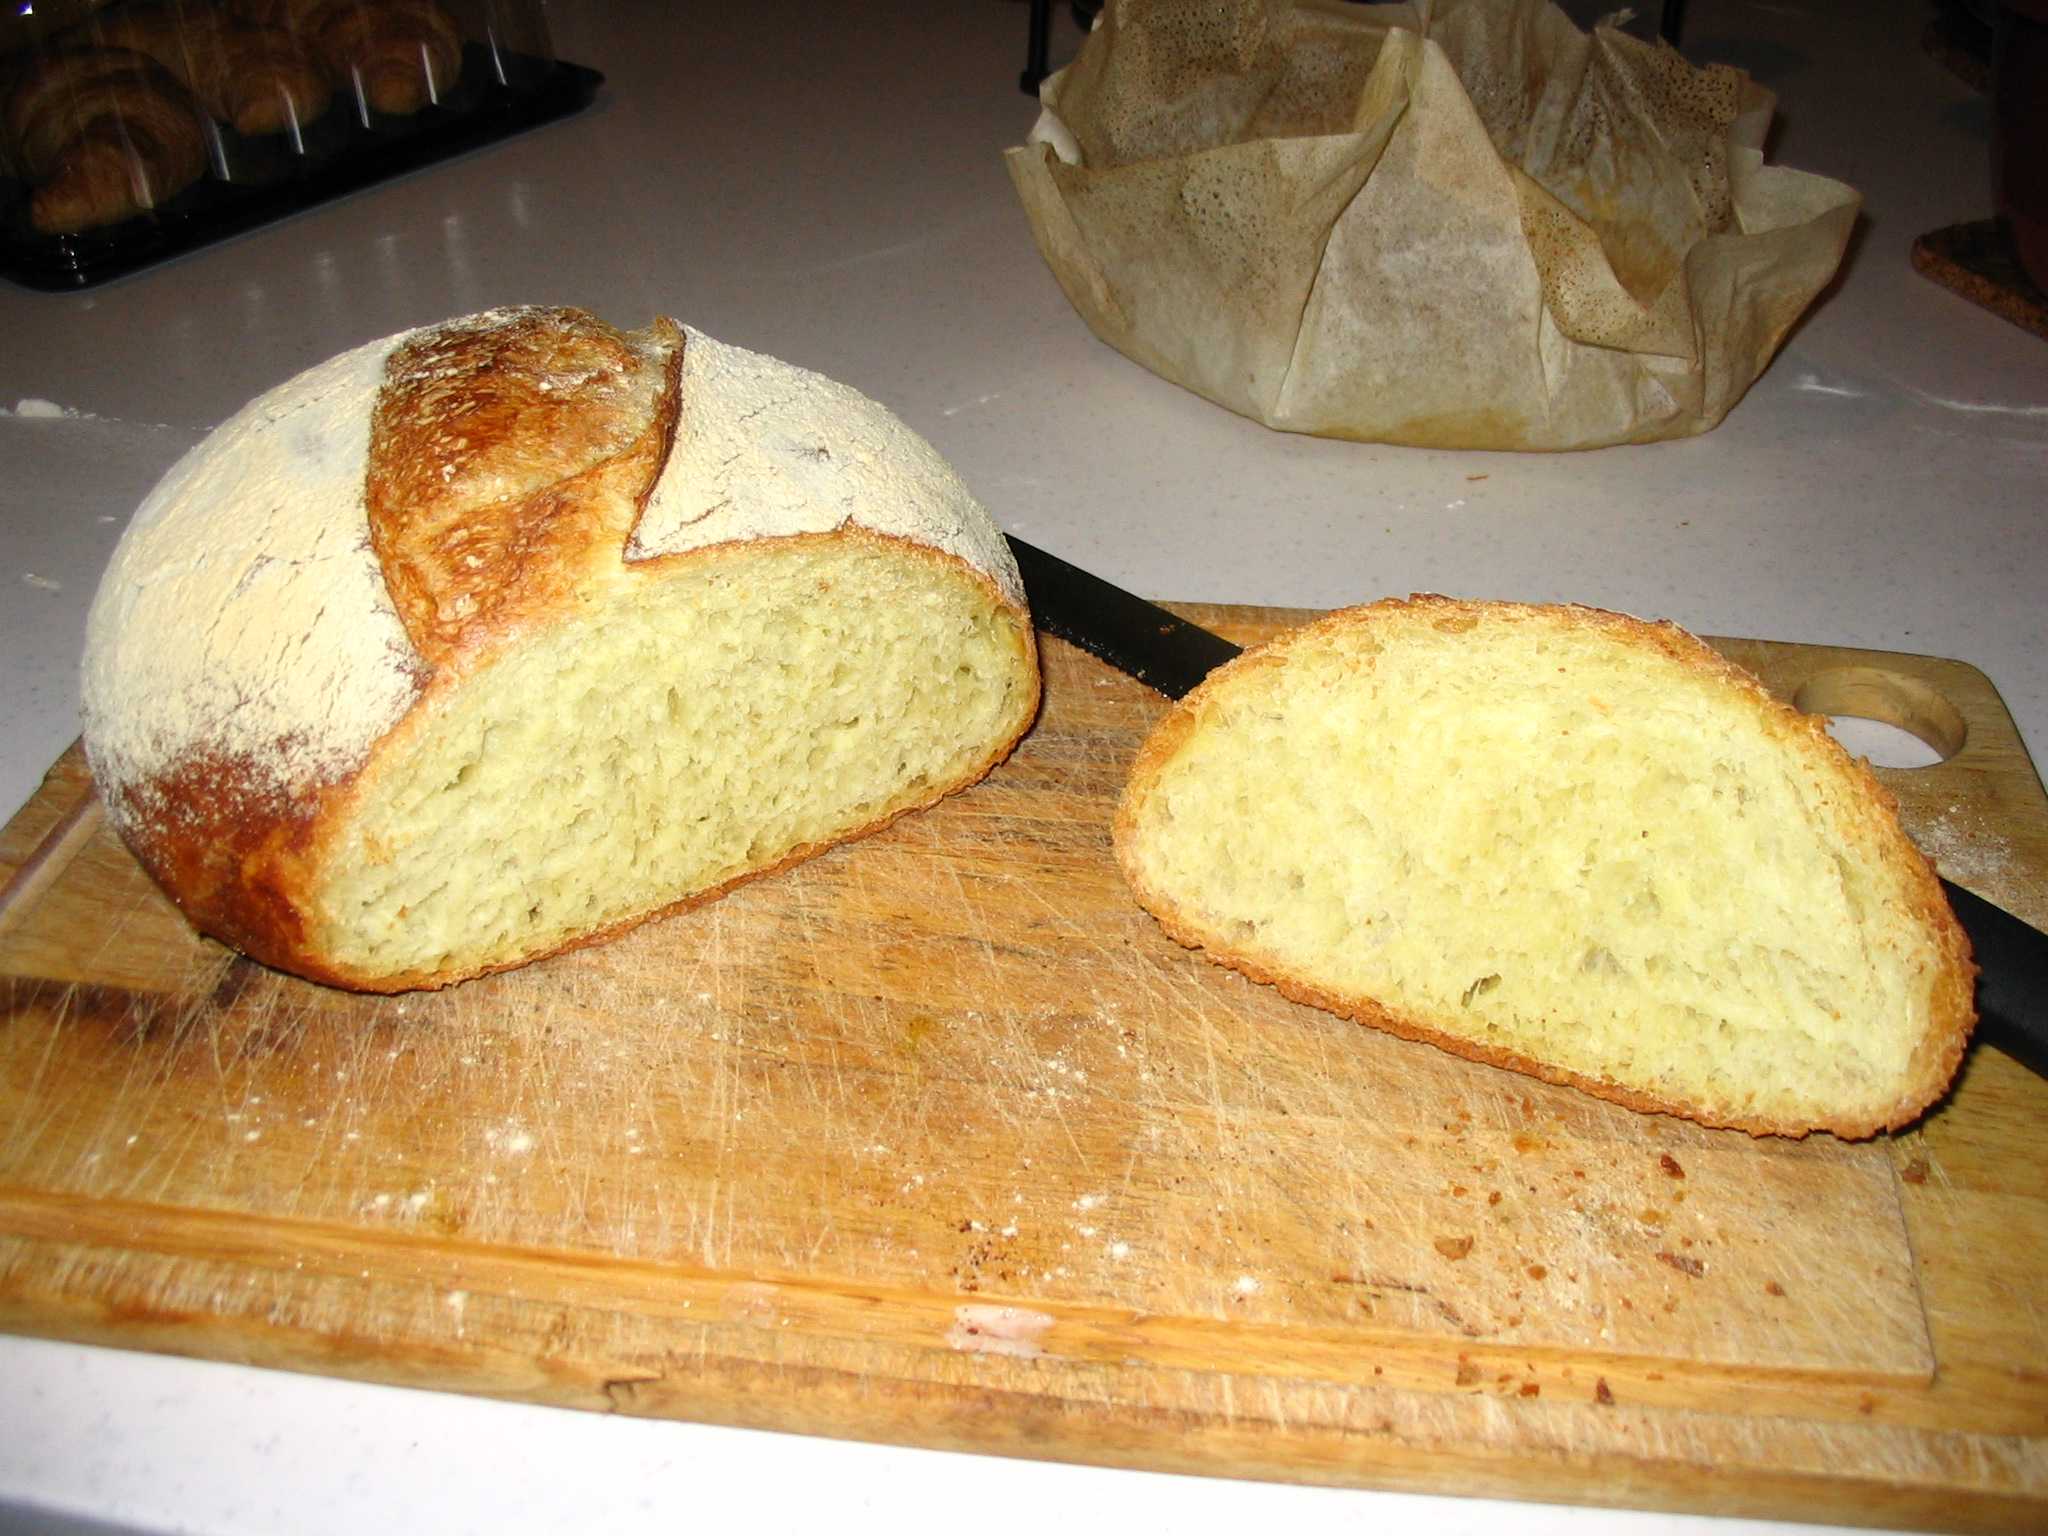
The crust is a no-brainer, I explain that the water vapor expiring from the loaf creates the crust. The Dutch oven is in fact much better at this than the cast-iron skillet trick I use to humidify the whole oven: the vapor doesn’t escape from the Dutch oven. Sure, I was pleased with my artisan loaf, but this crust is even better. The best part about the equipment used is that a Dutch oven (or two) is absolutely essential to the kitchen. Many great dishes can be done in it. I replaced my hugely expensive French Le Creuset that was all chipped and discolored with two Tramontina 6.5 quart ovens from WalMart for $40 each. TerminologyHere are the formal, bread-making terms for the above. Most are French, of course.
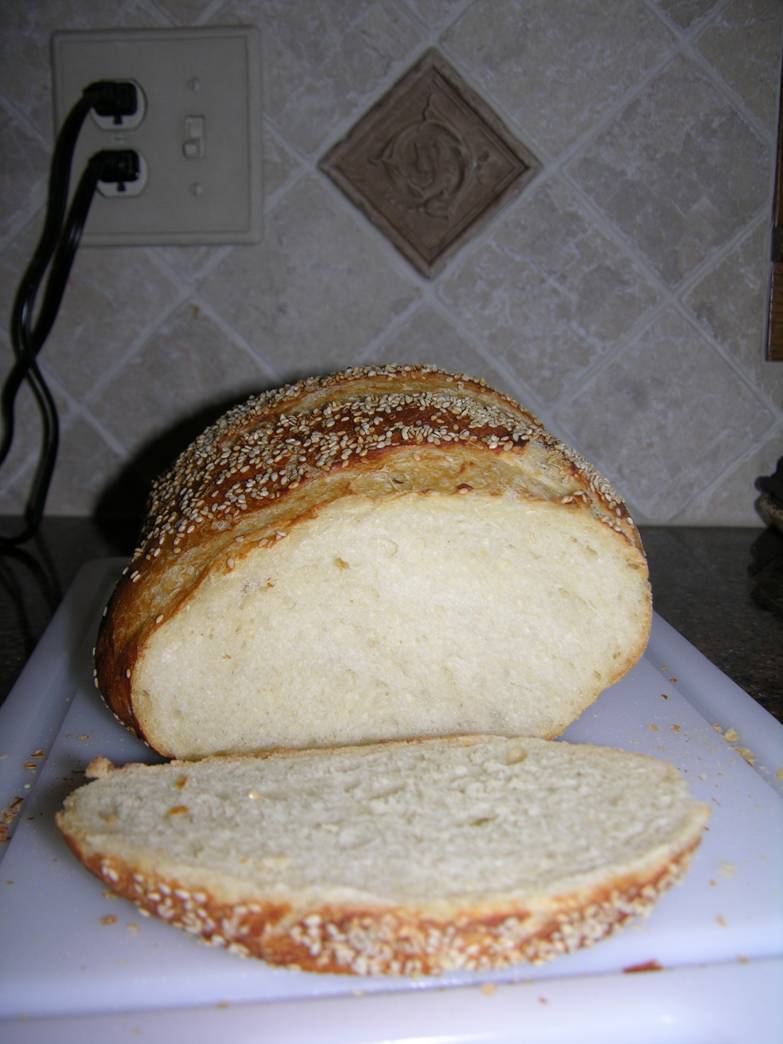
Decoration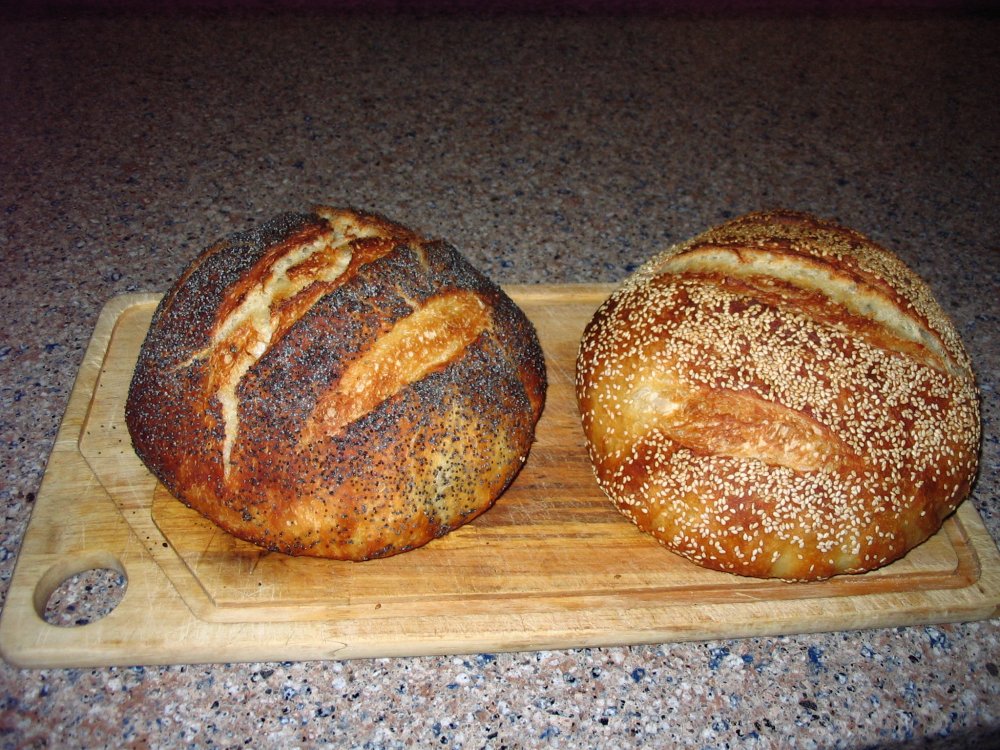
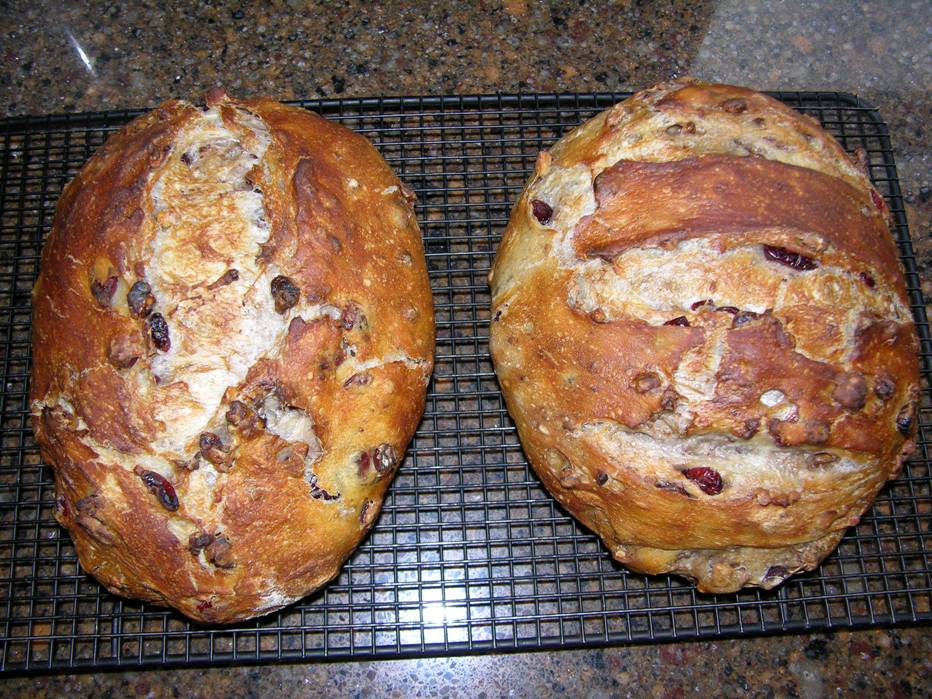
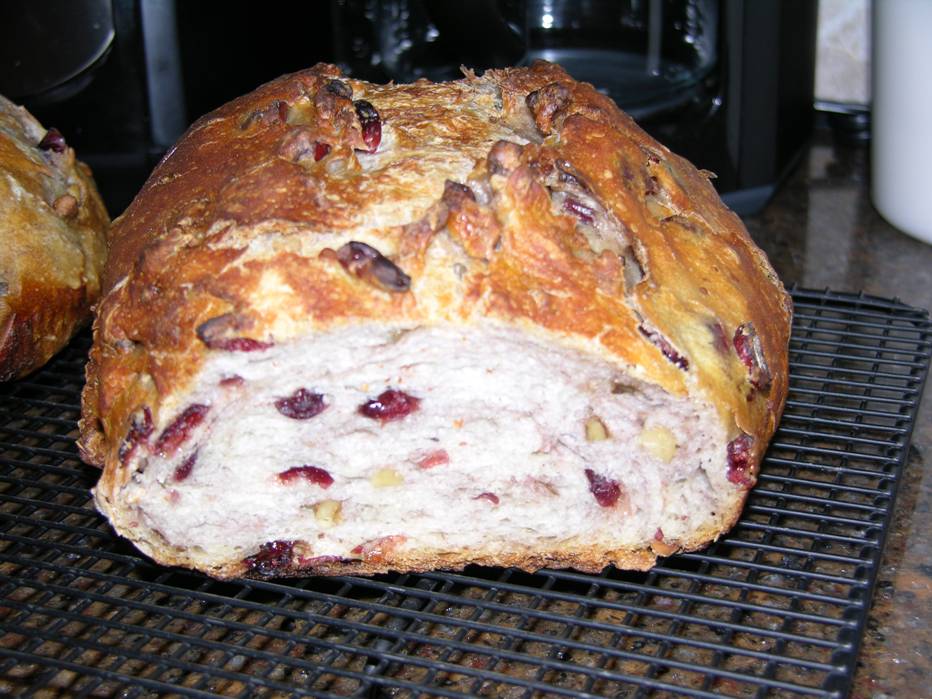
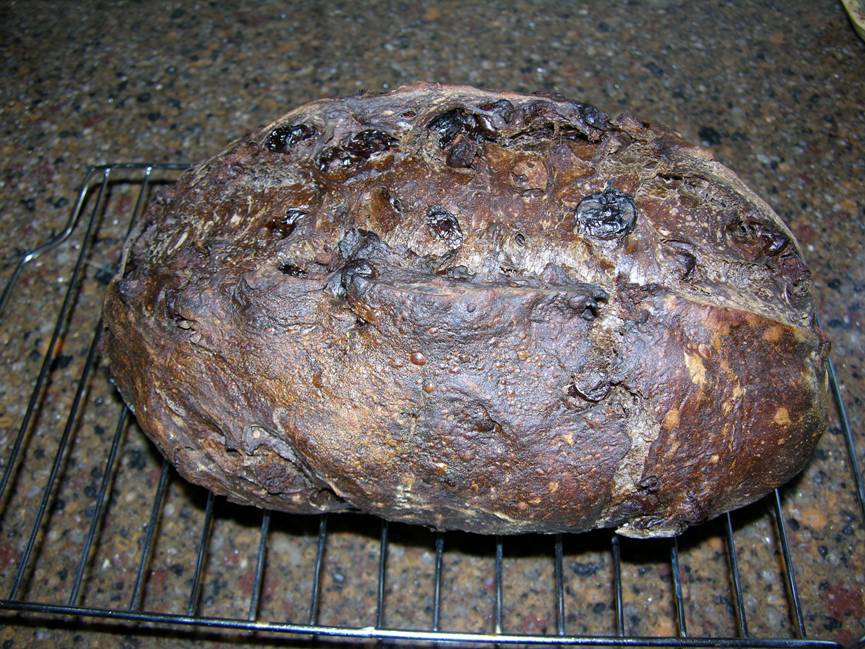
Shown above is a loaf with poppy seeds. I also do sesame seeds. This is done by separating an egg white into a small bowl, adding just a thimblefull of water and beating with a fork until uniform. Just prior to slashing the dough ball, brush it all over with the egg-white wash and sprinkle a small amount of seeds over it. Slash and put the dough ball into the Dutch oven. The seeds stick quite well. To the right is an example of a random, weekly Sunday bake for dinner later that day. Below are photos sent by others who’ve tried and loved this recipe including cranberry-walnut and cherry-chocolate chunk versions. 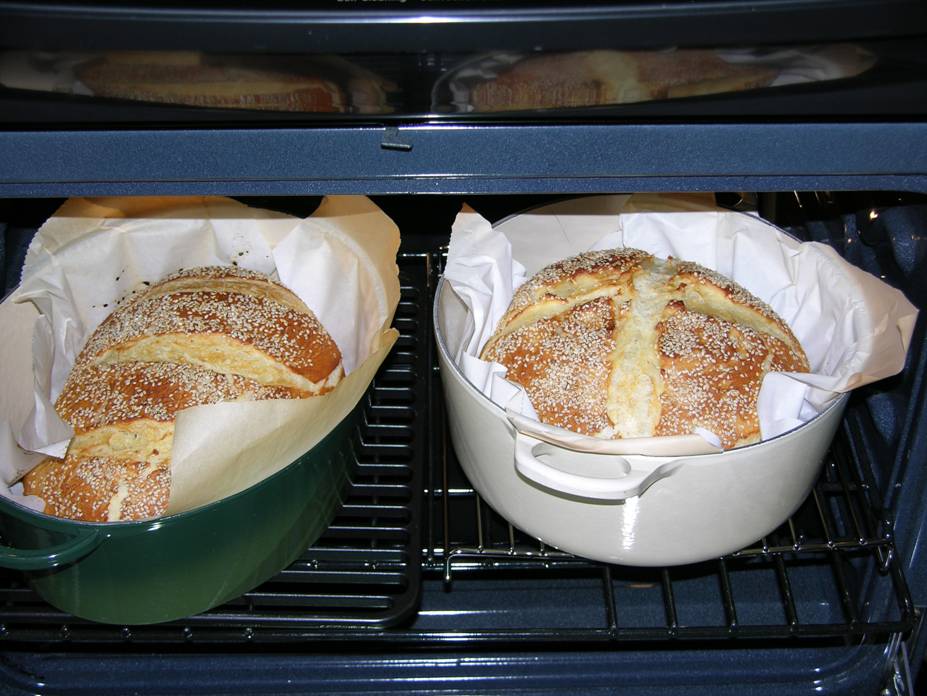
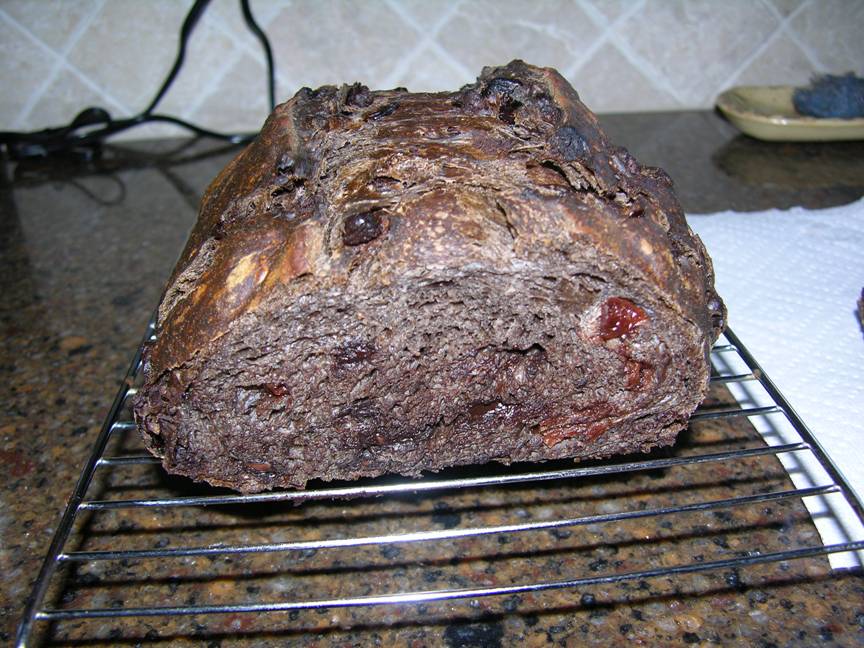
| |