Rustic Country Bread Recipe
This is a new direction, artisan bread, although all my bread is arguably artisan and I have been baking for some 15 years now, inspired by a presentation by King Arthur flours I attended. I think their interest was to inspire more home bakers and create a demand for their brand, which I have never seen in stores around here. I personally use generic, Western Family® unbleached flour sold at a very low price in a 25-pound bag by my local grocer.
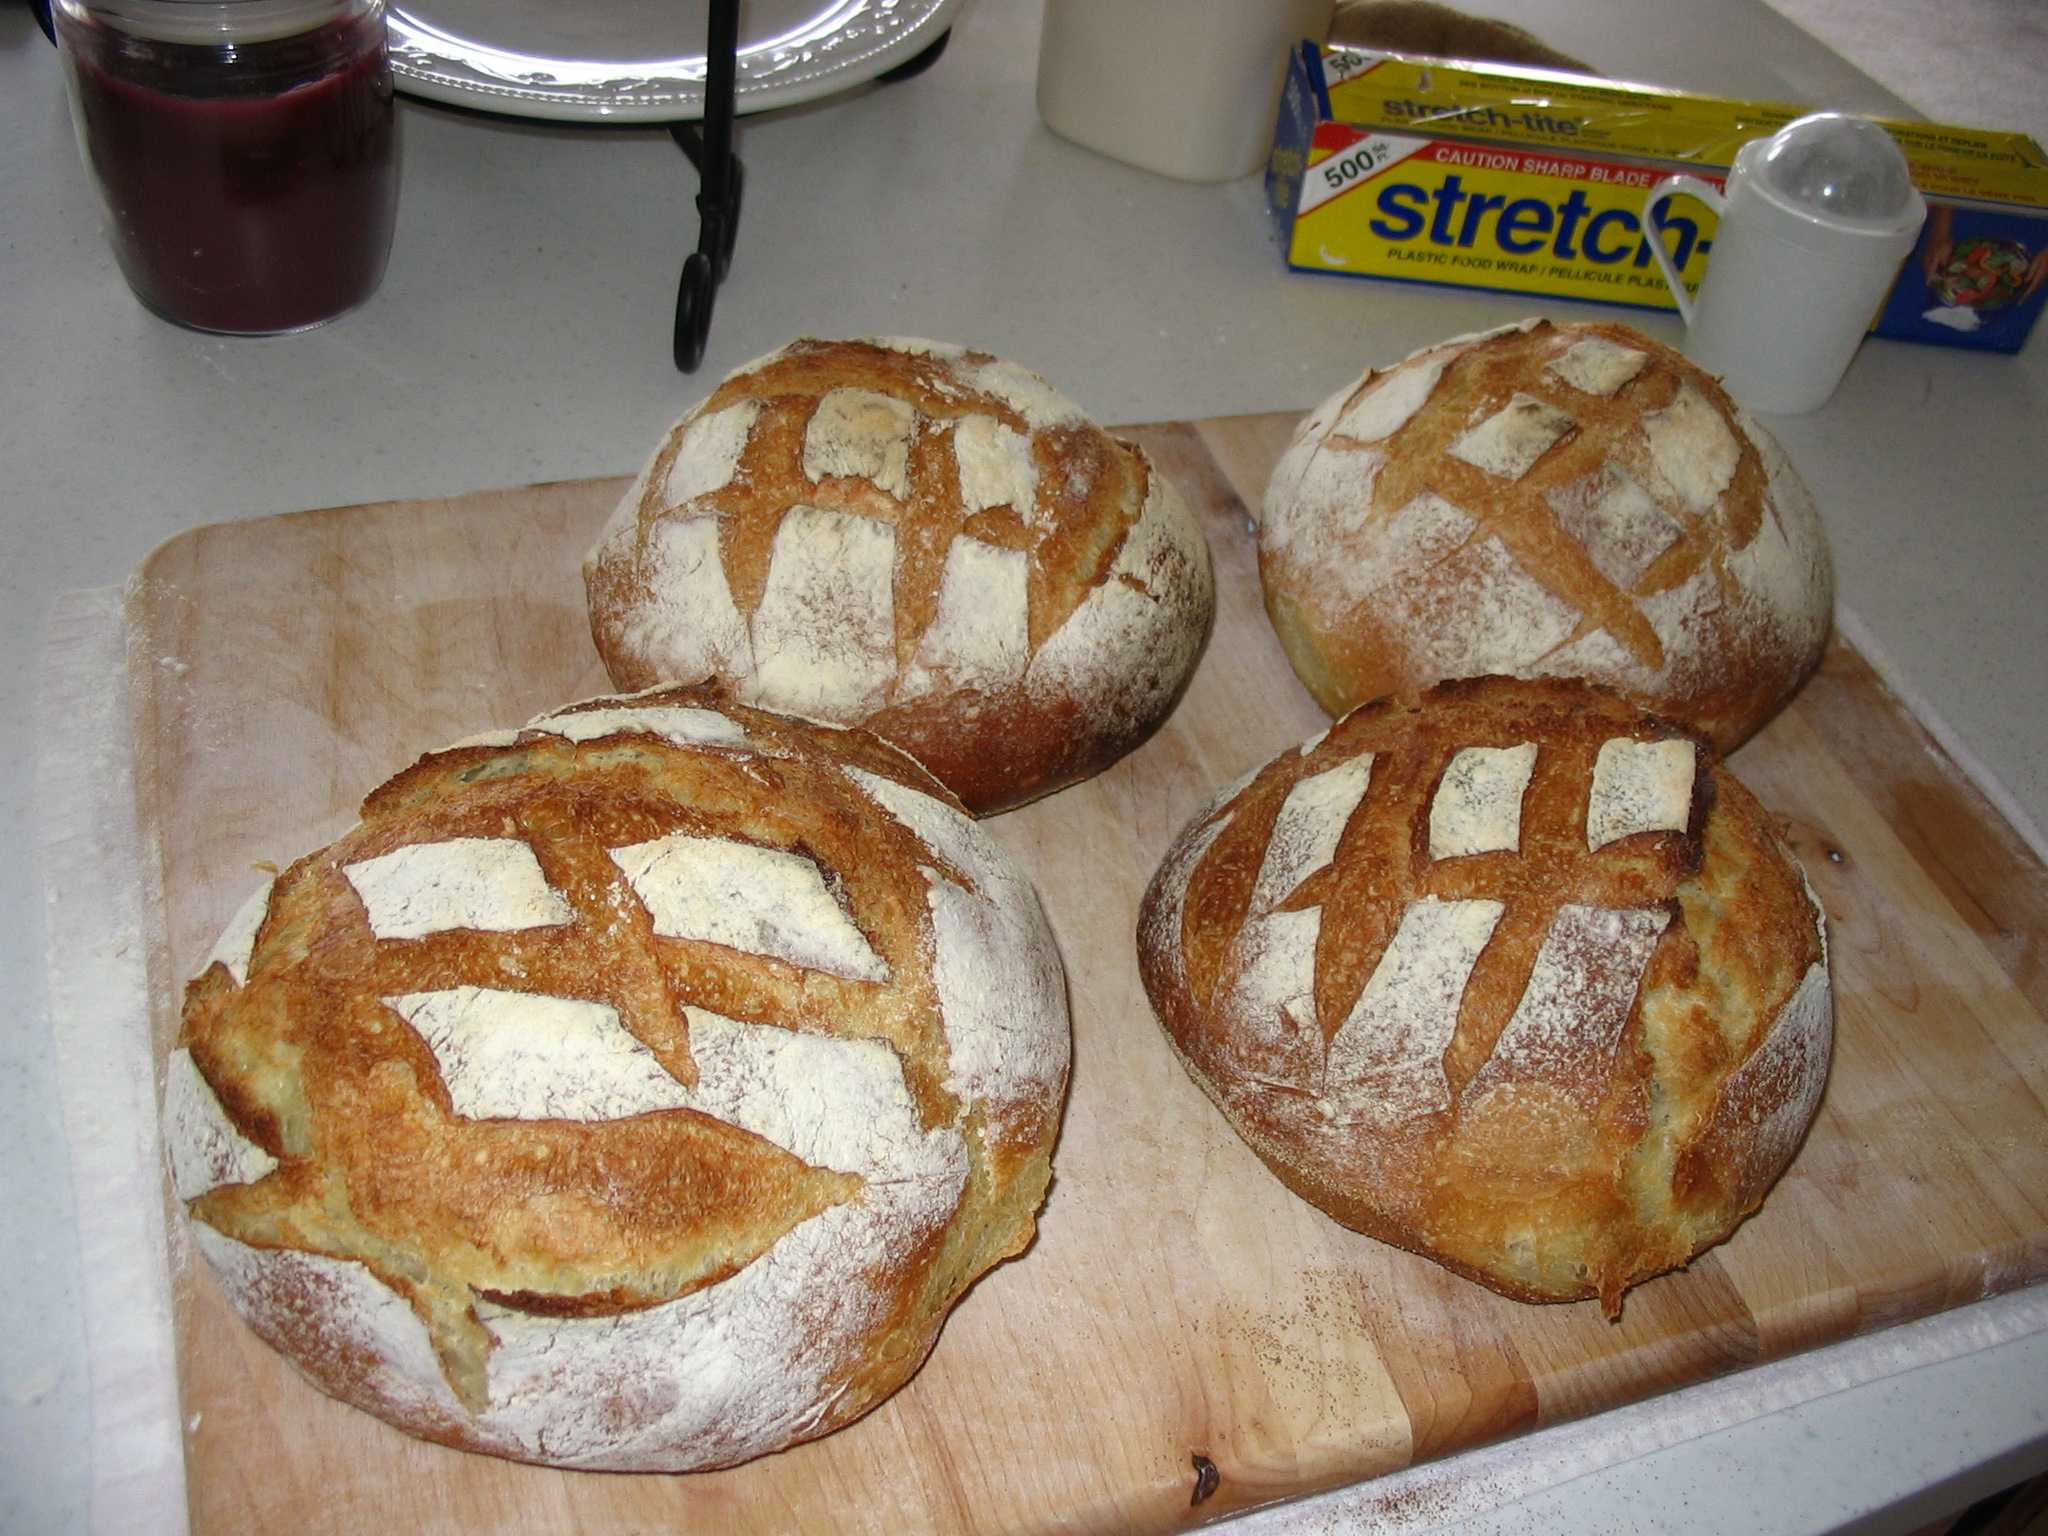
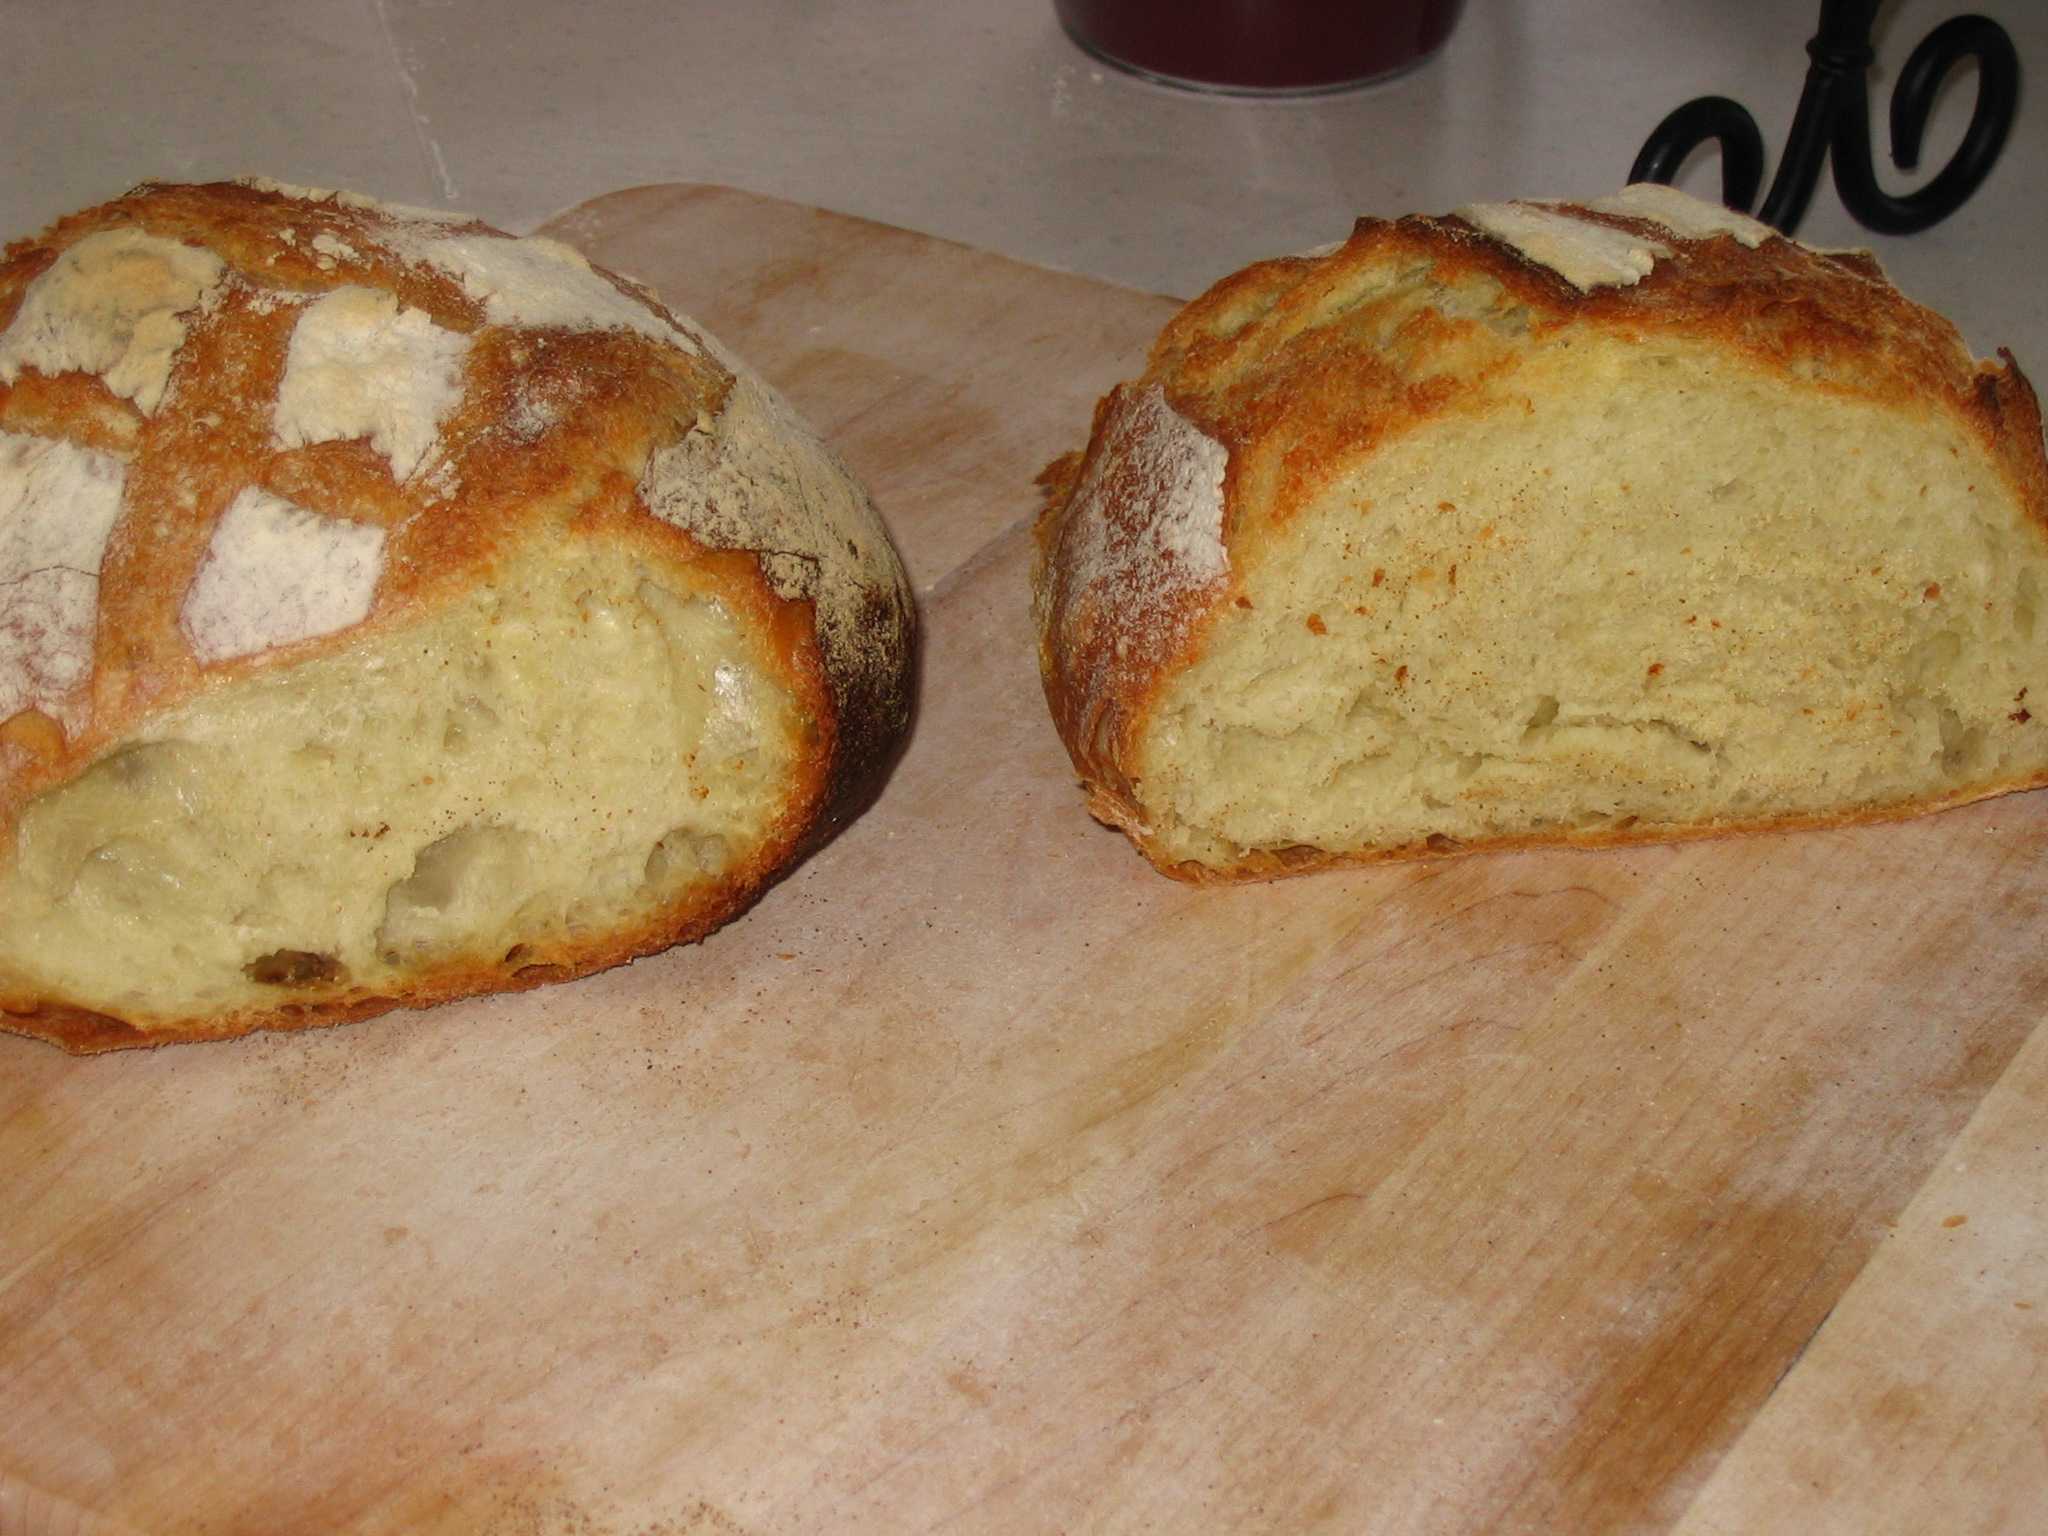
My initial successes, after the third attempt, are illustrated here at the right. Click to enlarge. This is the holy grail I have been seeking for 15 years.
These are new and strange techniques to me; I attended the presentation, purchased a video, have a recipe and am experimenting with it. My initial result was dough that would not rise up prior to baking though it did not remain flat once in the hot oven. It looked like it would be a long haul before success is reached, but my second batch was edible.
The recipe is almost without modification here. My own notes recorded during my attempts are now in a separate file along with some summary observations by a friend who also makes bread. In italics, I explain counsel and theory garnered from King Arthur, observations from the presentation or the DVD, and from other sources including Alton Brown and a French make-your-own-bread site. My daughter's notes are also available (mostly for her to review).
From dough to oven is about 3½ hours. Add 30 more minutes and baking day is roughly a 4½ hour commitment, though you probably aren't actually doing anything more than waiting for the dough to rise beyond 30 or 40 minutes including mixing, kneading, shaping and cutting plus set-up and cleaning of your kitchen.
Yield: 2 to 3 loaves
| Pouliche | ||
|---|---|---|
| 1 cup | filtered water | |
| 8½ oz | all-purpose, unbleached flour | |
| pinch | active dry or instant yeast | |
| Dough | ||
| 1 cup | water | |
| 1½ tsp | active dry or instant yeast | |
| 1½ tsp | (mounded) Kosher salt | |
| 13-15 oz | flour |
Pouliche
1. Combine pouliche ingredients and mix until well blended. Cover and let rest at room temperature overnight. The pouliche should dome slightly on top and become ærated and spongy. (In fact, this is the sponge of Alton Brown's method.) It will look quite wet, with a bubbly surface laced with creases once it matures.
The pouliche is essential to the taste of the bread. In the absence of sugar, honey, etc. as mixed into other sponges, it develops lactic and other acids that contribute to a great flavor. The pouliche is a prefermentation or pâte fermenté. It's unclear how much effect this sponge has on the rest of the flour and how much consequent flavor develops during raising and fermentation at folding time.
Oil is considered a contaminante. Don't use any, even to keep the dough from sticking to the fermentation/raising container. The DVD and the woman who presented the class demonstrated techniques for avoiding cooking spray:
- To remove the pouliche from its bowl, pour the recipe water around the edges of its container to flow down around the pouliche and sink to the bottom floating it. At that point, it should mosly plop out into the mixing bowl.
- To remove the dough from the mixing bowl ready to fold, sprinkle a little flour around the edge and tuck it down past the sides of the dough ball and under the bottom to release it from the bowl.
Dough
In a large bowl, combine the risen pouliche, water, salt, yeast and enough flour to make soft, wet dough. Turn out onto a lightly floured board and knead until dough becomes smooth but slightly tacky. A dough scraper will help manipulate the dough. Avoid adding too much flour. Return the dough to the bowl, cover with plastic wrap and a clean towel, and let rise 45 minutes.
Fold
The dough is now ready to fold. To fold the dough, lightly dust the dough (still in the mixing bowl) and work surface with flour. Using a dough scraper, invert dough onto the work surface. Gently stretch and pat the dough flat, then fold the dough in thirds, like a letter. Turn dough 90° and repeat the folds. Pick up the folded bundle, invert it, and place gently back into the bowl. The dough will be noticeably tighter. Cover with plastic wrap and and clean towel for 45 minutes.
Fold the dough again, cover and let it rise another 45 minutes.
Preshape
Gently invert the dough onto a lightly floured work surface. Using a bench knife, divide it in half and gently preshape each into rounds by drawing the edges togther so that one side becomes the smooth outer surface, while the other side of the ball has all the edges drawn together. Cover and let rest on a lightly floured surface for 20 minutes.
Shape
During this last step in preparing the bread for baking, preheat the oven with baking stone and a small cast iron skillet inside to 500°.
Shape the dough as desired, and set on a couche (linen cloth) or tighly woven kitchen cloth. Cover and let rise until dough is not quite doubled in bulk, 40-45 minutes. At this point, your oven has preheated at least 40 minutes, your stone is very hot and your skillet ready to make some steam.
Bake
Just before baking, slash the loaves. Slide them onto the baking stone, fill the oven with steam by pouring ½ cup of boiling hot water into the cast iron skillet* and close the door.
* This will ruin the temper of your skillet. Plan accordingly. I use a tiny cast-iron skillet for which I have no practical need; it originated from a set of three skillets.
Bake for 5 minutes and reduce temperature to 475° until done, about 25 minutes. Internal temperature should reach 205° at sea level, less higher up.