Pot Roast
(originally from America’s Test Kitchen)
Careful attention to detail will turn a cheaper piece of meat into something luxurious as you reveal a balance of meaty flavor with the collagen from breaking down the connective tissue and with fat. Some of what’s done or going on here is my own interpretation or addition.
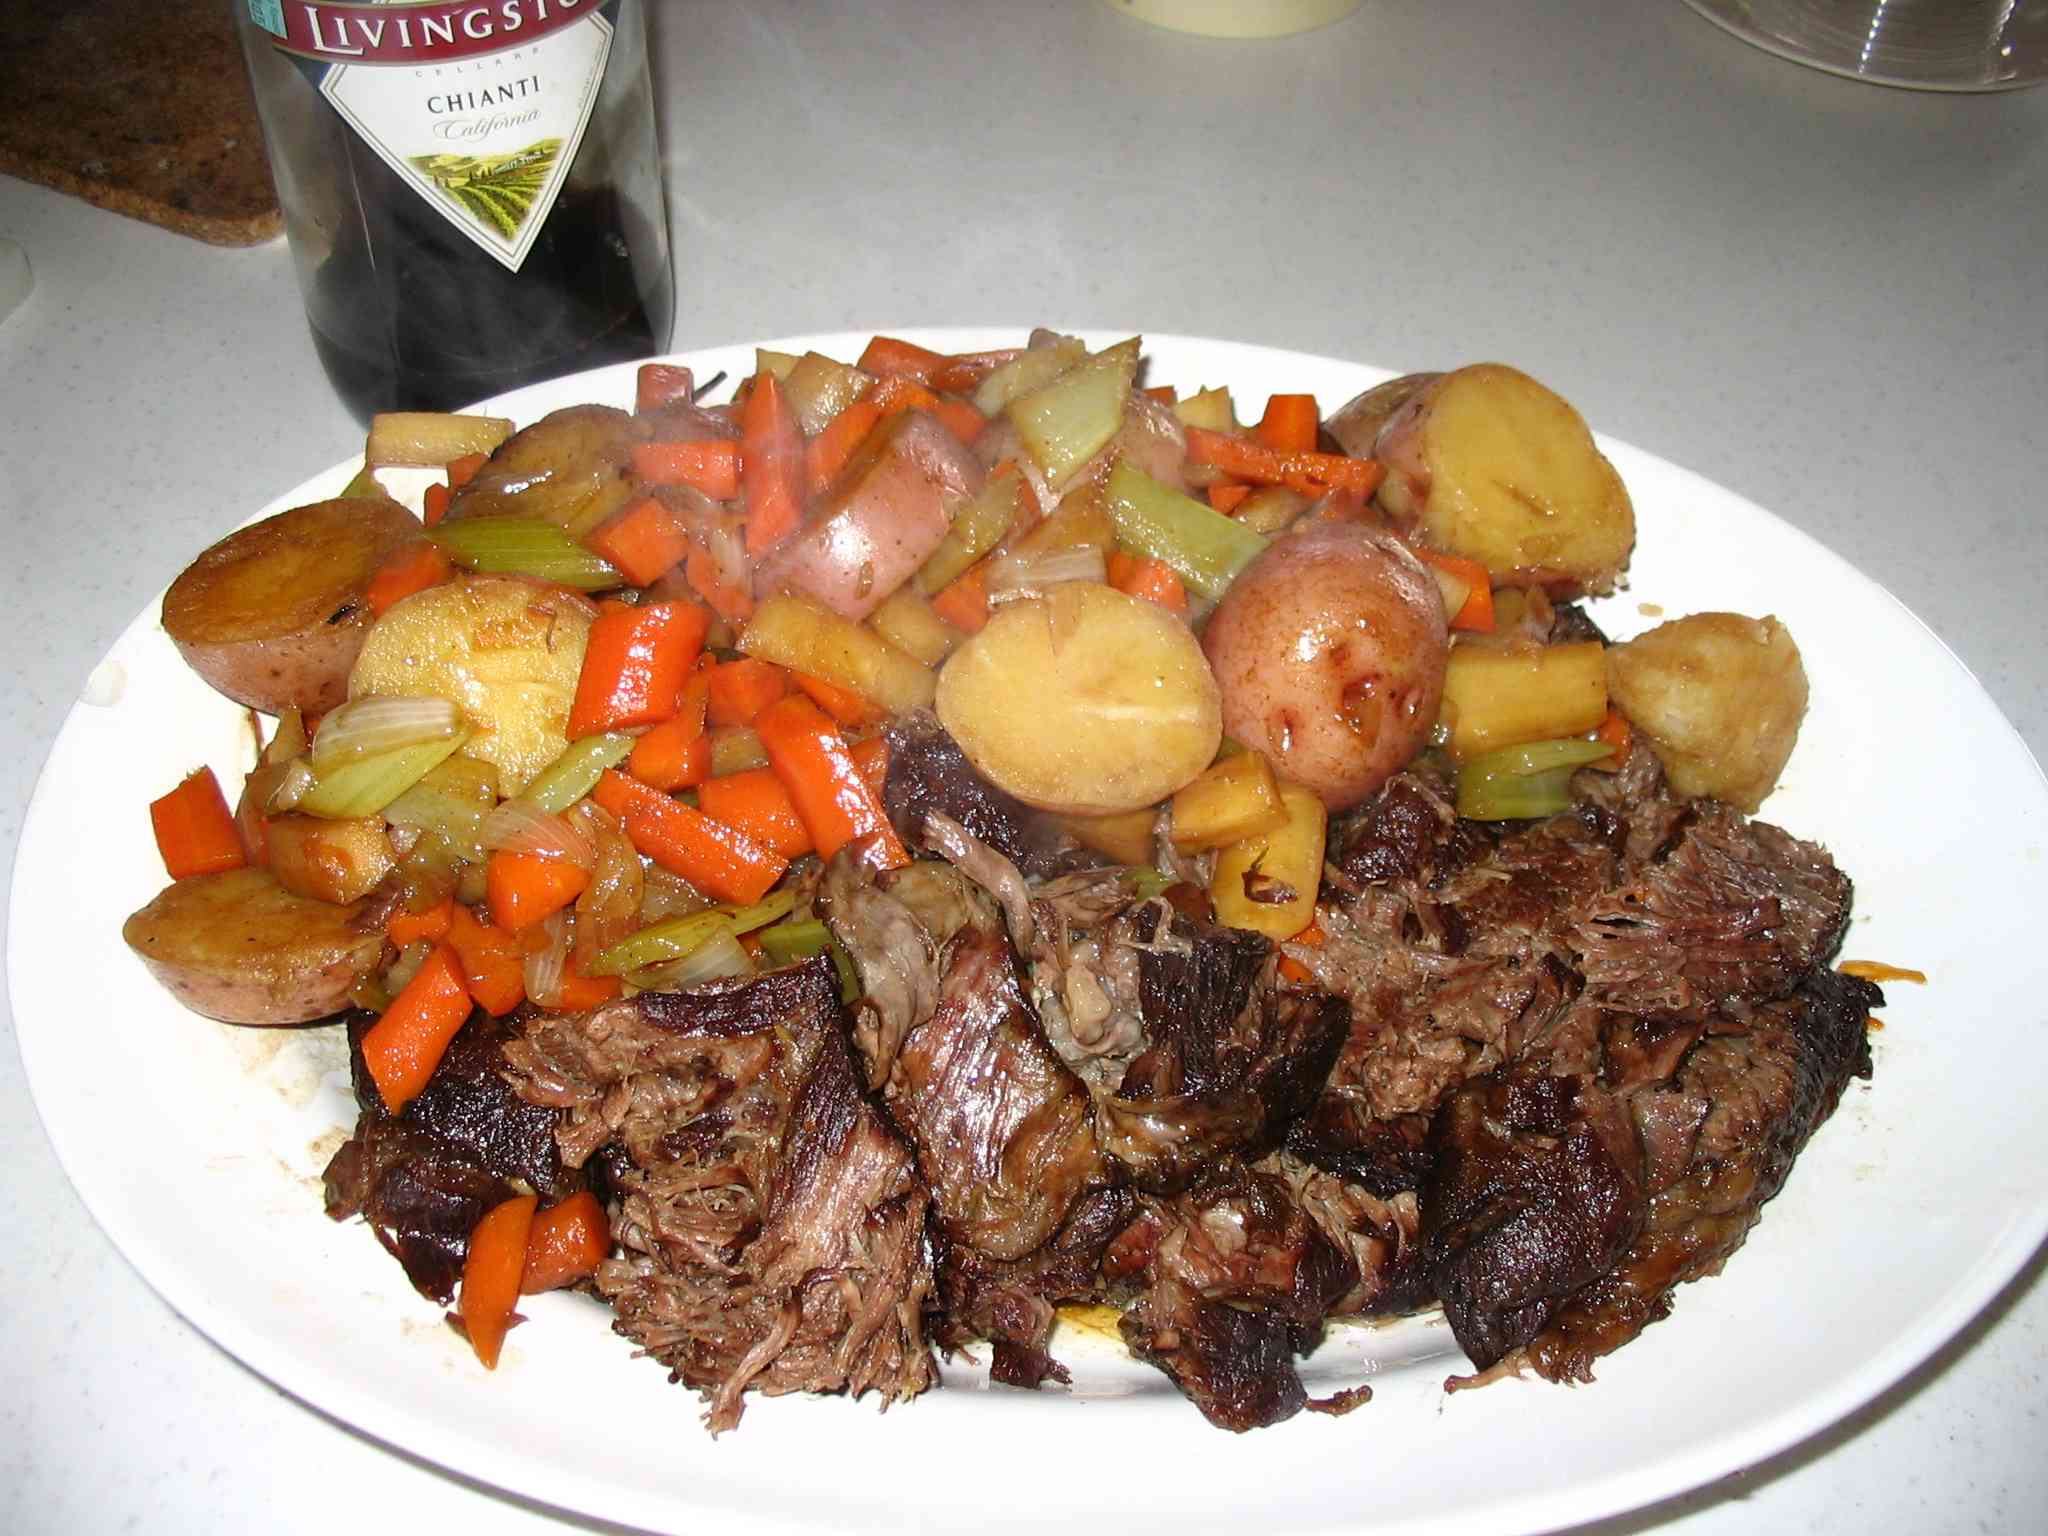
So, what sort of details am I talking about? First and foremost, purchase the right meat, a chuck roast, in as much of a cube shape as possible. It is very difficult to make an unctuous pot roast out of a slab or strip. The key is not to over-cook the meat, a mistake I have made time and time again. The illustration at the right is an example of one of the first times I got it right. And, I ruined it the very next time, so I’m giving you the benefit of my experience.
Yield
This recipe is for a 4-pound roast; count on ½ pound uncooked weight per person served.
Ingredients
| 4 lb | chuck eye or blade roast (no rump stuff) |
| 2 tbsp | oil |
| 1 large | onion |
| 1 lb | carrots |
| ½ foot | celery |
| — | chopped leeks |
| 4 large cloves | garlic, minced |
| 1 tbsp | sugar |
| — | crushed thyme |
| — | basil or oregano (optional) |
| 1 cup | beef stock |
| 1 cup | chicken stock |
| — | filtered water |
| 2 lbs | red potatoes, unpeeled |
| 2 lbs | carrots, diced or coined |
| 1 lb | parsnips, diced or coined |
| ½ foot | celery (optional, but why waste it?) |
| ½ cup | red wine |
Preparation
1. Rinse and dry off the meat. Truss the roast if necessary to make it fit your dutch oven—you want it to be in a cube and not a slab or strip. Do not cut it into smaller pieces or you may as well just make bœuf bourguignon instead. Season all sides with salt.
2. Sear in oil, 2½ minutes per side. The darker, the more flavorful. During this time, make a mirepoix by dicing the onion, carrot and celery (and leek if you choose).
3. Brown mirepoix well in fat and juices that have expired from the roast. Add in garlic and cook for 30 seconds. Add in sugar and stir, then beef and chicken stock and crushed thyme and other spices as desired.
4. Return roast to dutch oven, fill to half-way up the roast with filtered water. With a wooden spoon, scrape the fond off from around sides and bottom. Bring the whole to a boil.
Oven cooking, 3½-4 hours
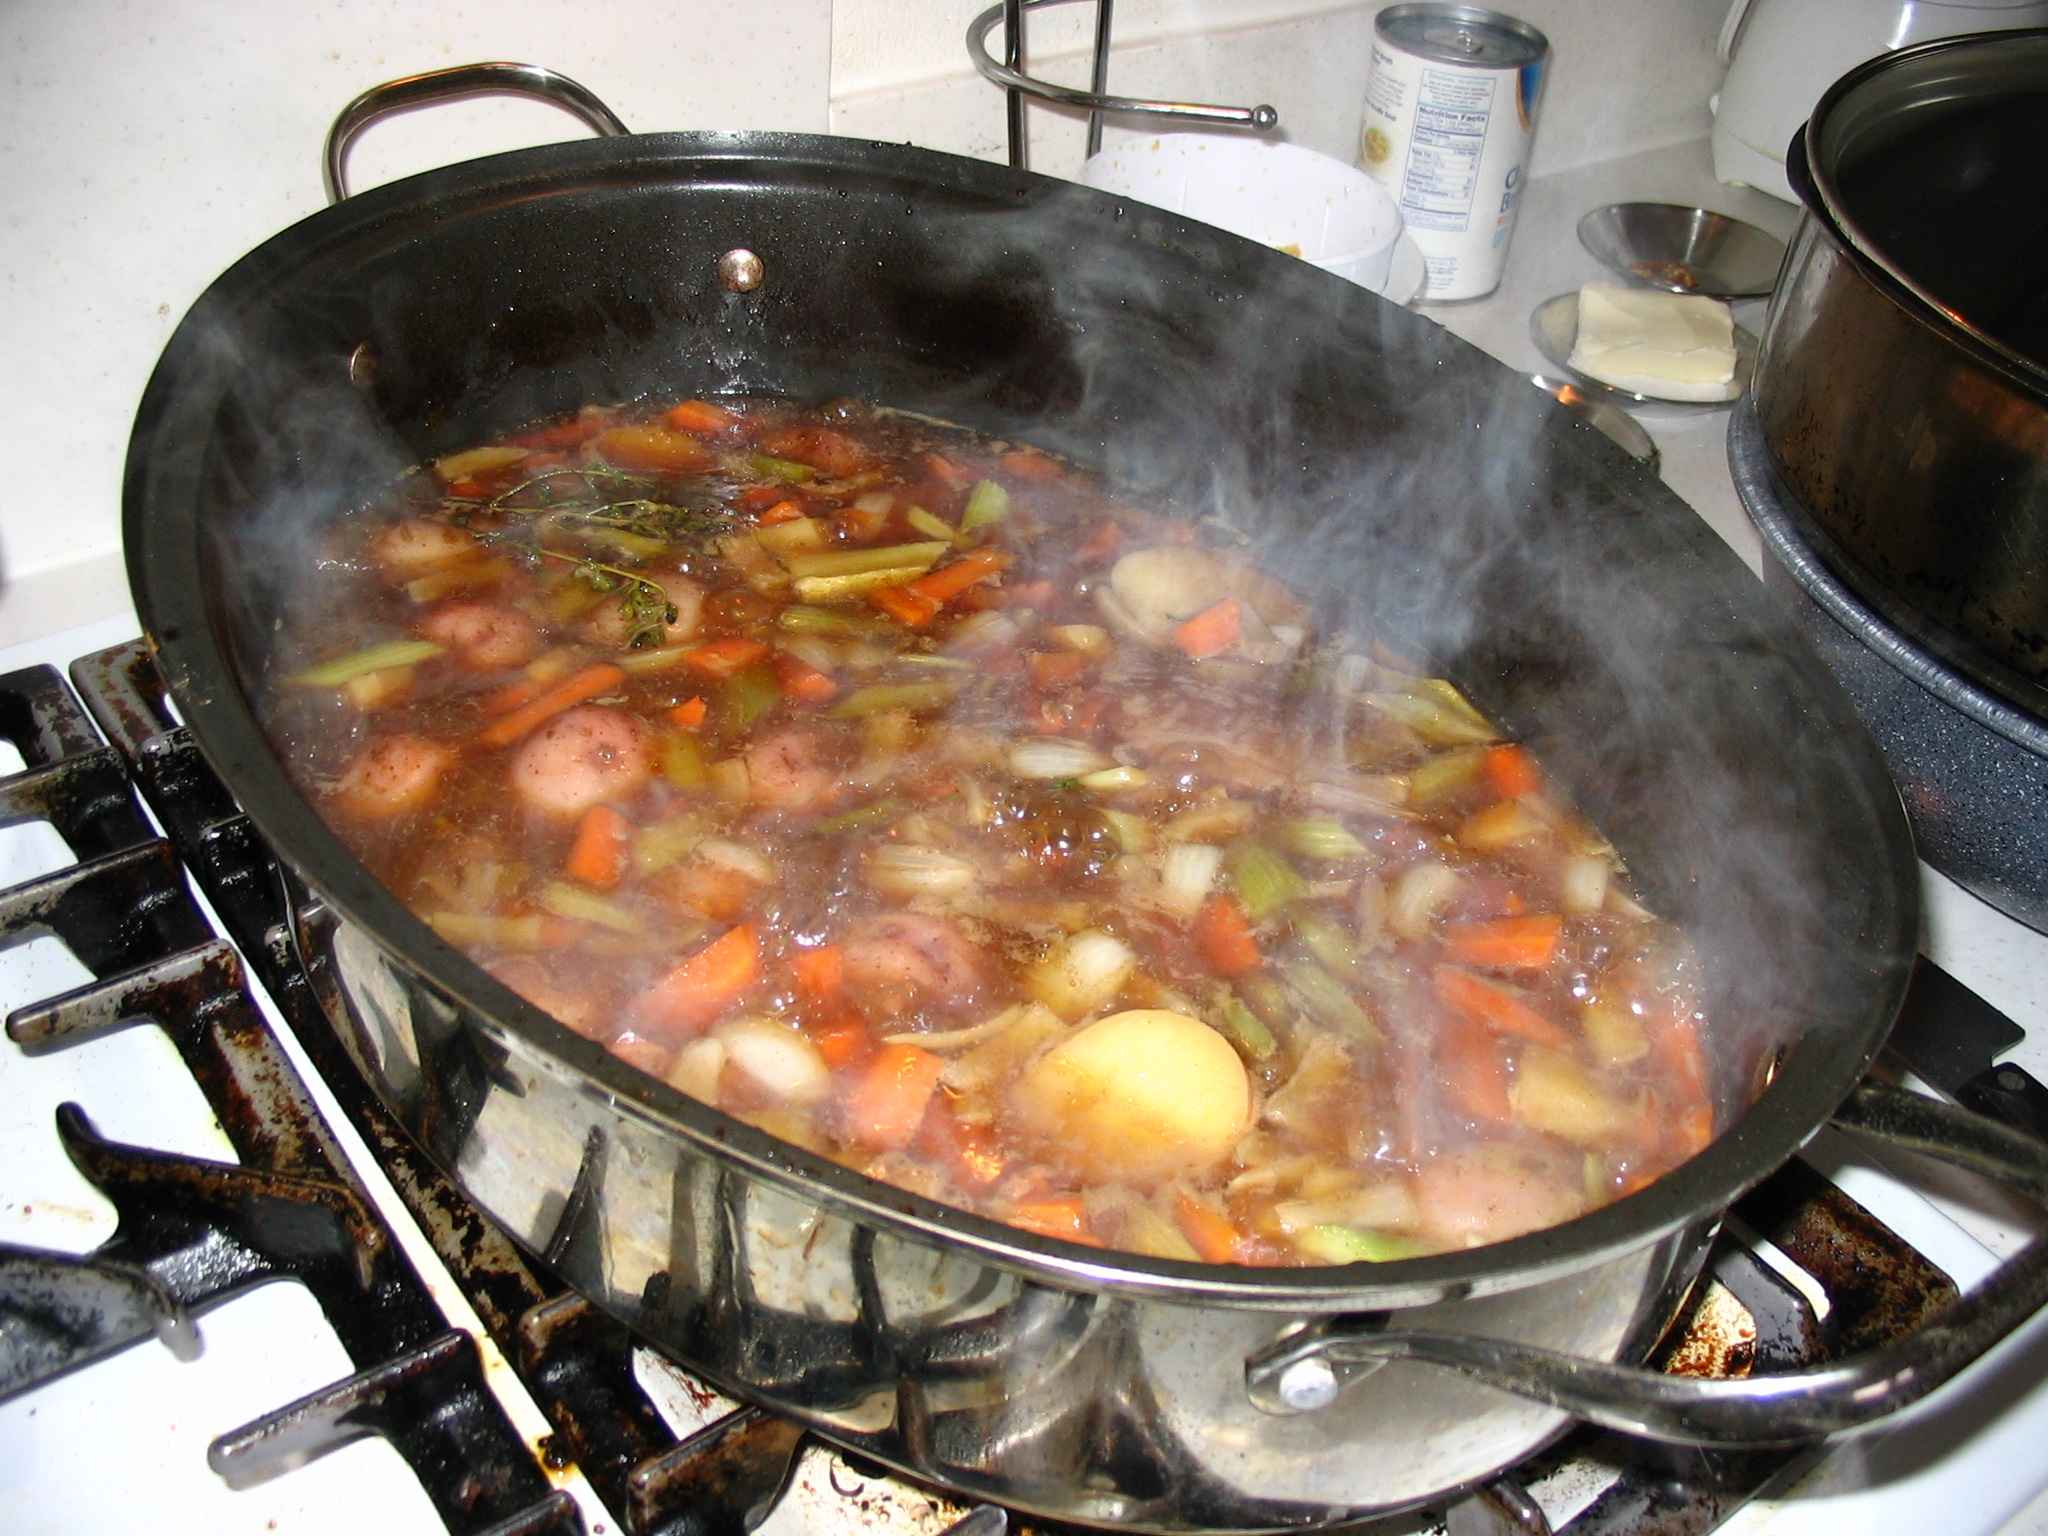
5. Cover the dutch oven with foil and its lid. Still boiling, place in a 300° oven for 3½ to 4 hours. Depending its design and the circumstances, you might fold the foil and rim the open oven with it using the foil as a seal when you put the lid on (see my dutch oven in the illustration below).
|
It is crucial that the center of the roast reach at least 190° for a short period of time. At that temperature, the collagen or gelatinous content of the meat’s connective tissue breaks down giving the roast its “fork-tender” quality as well as its luscious mouth feel. (This is also what you’re looking for when you smoke barbecue for a long time at a low heat.) See a comprehensive discussion of meat cooking including slow roasting or braising meat to 200°. | |
|
If the dutch oven and its contents are not boiling hot when they go into the oven, the oven time must be dramatically increased as it is hard to heat up such a great mass in the oven. Preheating is better done on the stove. | |
|
However, caution is important. If the temperature of your roast climbs higher than 210° for much time at all, the collagen will melt out into the braising liquid and the meat will be flaky, but dry and nasty. I suggest placing the probe of your thermometer into the thickest part of the meat and carefully placing the cover on the dutch oven, dangling the probe connector outside the oven. Set the temperature alarm to go off as soon as the roast goes higher than 205°. Take out the meat and resist the temptation to put it back into the dutch oven at the end of the vegetable-cooking phase to hold it in the oven until time to fee your guests. Better serve the meat cold—warmed by the hot vegetables than to risk ruining the roast. It is possible, however, to hold the meat in foil separately in some warm place as long as the temperature doesn’t exceed 150° to 180°. |
6. Remove dutch oven from oven and the roast without playing with it or letting it fall apart and tent. Strain out mirepoix whose contribution at this point is already in the braising liquid. Set dutch oven aside for a few minutes to let the fat separate. Skim some or all of the fat from the top of the liquid.
Final cook: the vegetables
This step could be finished the next day if absolutely convenient, but finishing the whole dish, storing it in the refrigerator, and then warming it the next day has a better effect because the vegetables soak up even more flavor from the braising liquid.
7. Add small red potatoes to the meat, cutting the larger ones in half only—calculating for all to finish cooking at the same time. Add carrots cut to ½ inch coins or long strips as well as parsnips. Return roast to dutch oven, bring back to a boil, foil and cover, then return to oven for 20-30 minutes to cook the vegetables.
Final simmer
Accomplished in this final step are three tasks: finish the potatoes, steam the celery and reduce the sauce.The celery doesn’t need to cook as long as the potatoes, so don’t add it until a few minutes prior to taking the dutch oven out for the simmer.
8. Remove from oven and tent roast again. Set dutch oven to simmer on cook top adding in the celery at this point and the wine.
9. Serve by cutting the roast into ½" thick slices (or chunks) and arranging on a large serving platter. Garnish with the simmered vegetables all around. Pour some of the sauce over the top and put the rest into a gravy boat.